
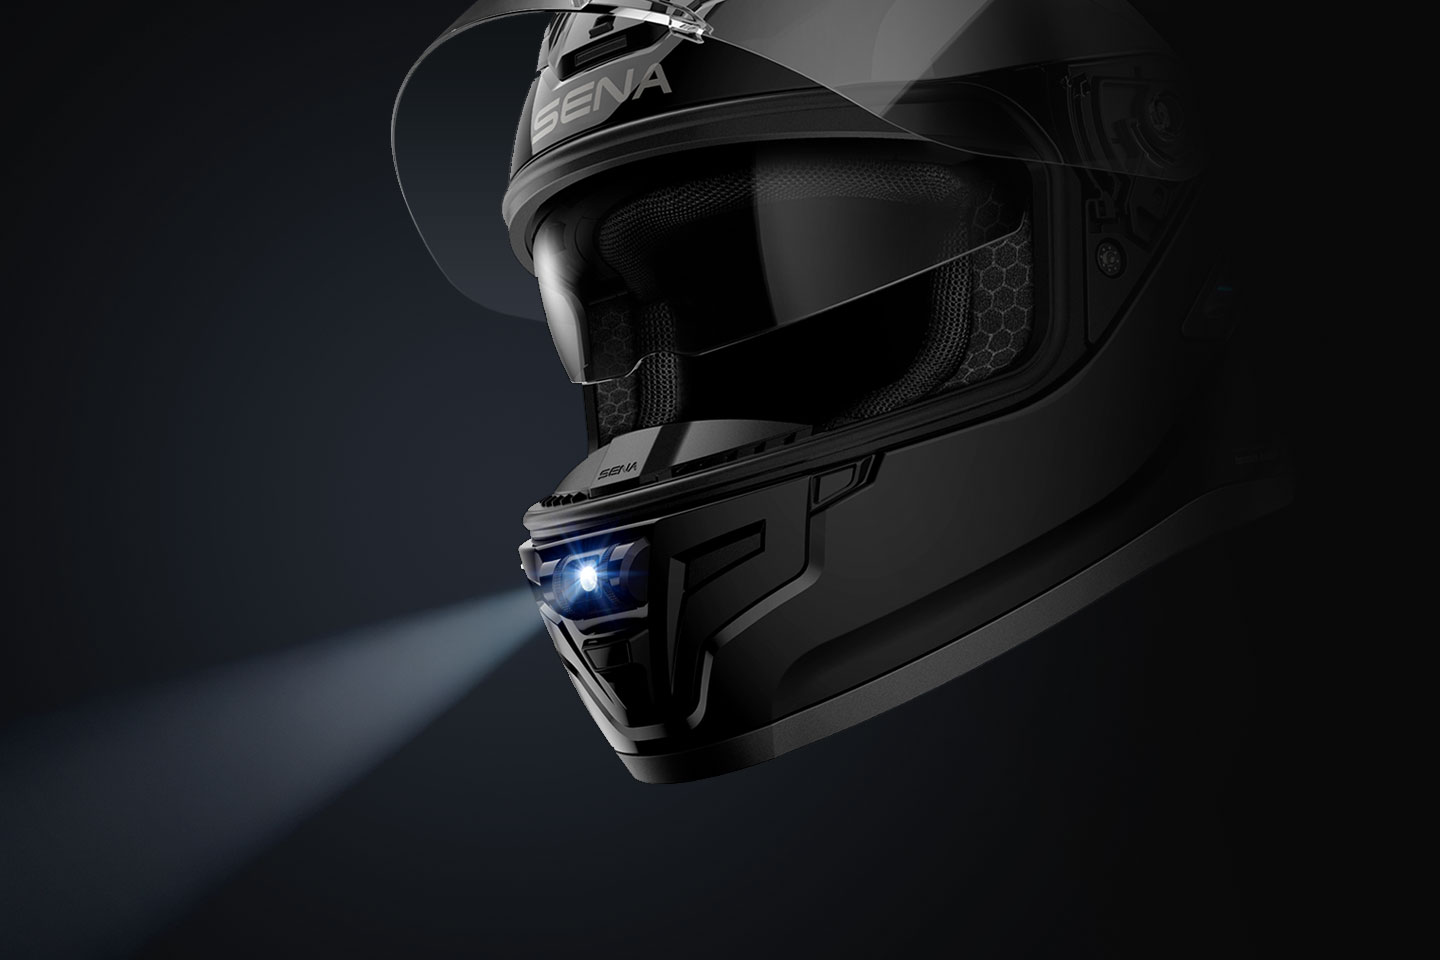

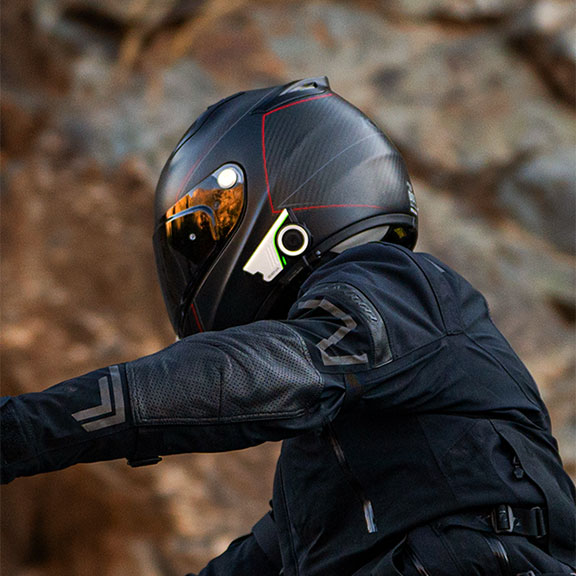
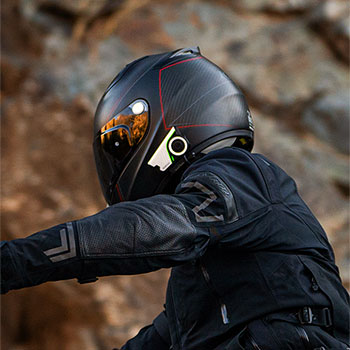
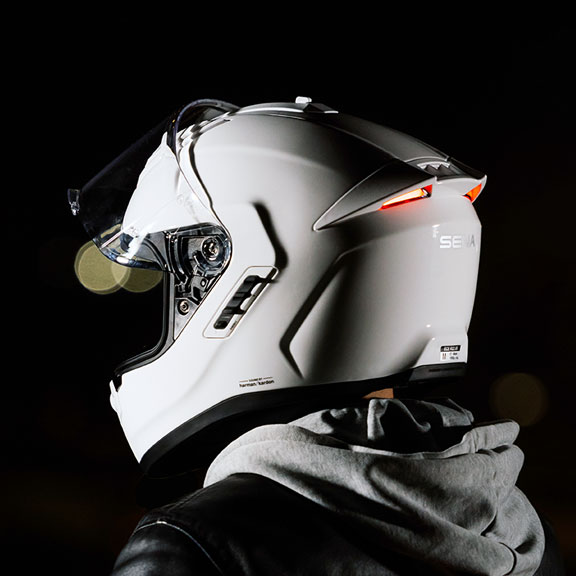
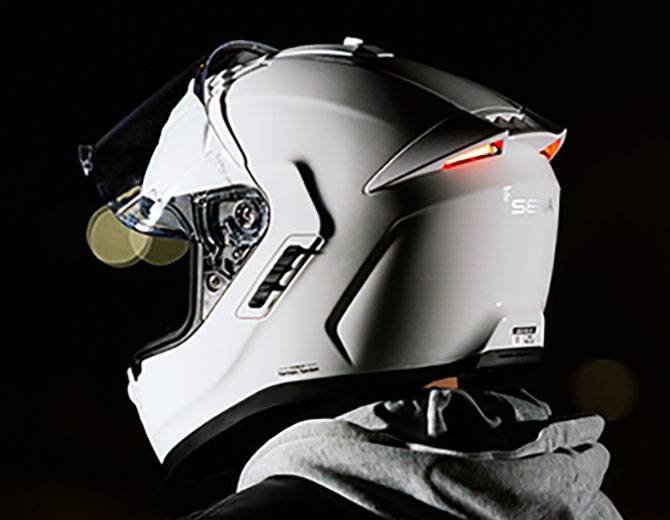
STRYKER
Sena Communication, Full-Face Protection,
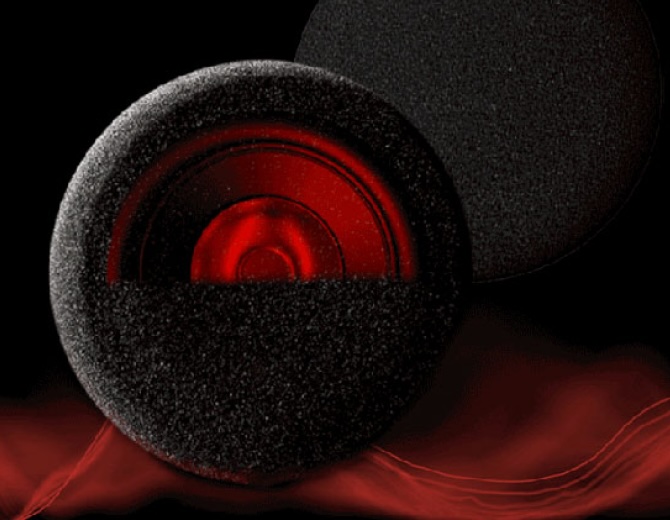
and World‑Class SOUND BY Harman Kardon


BiKom 20
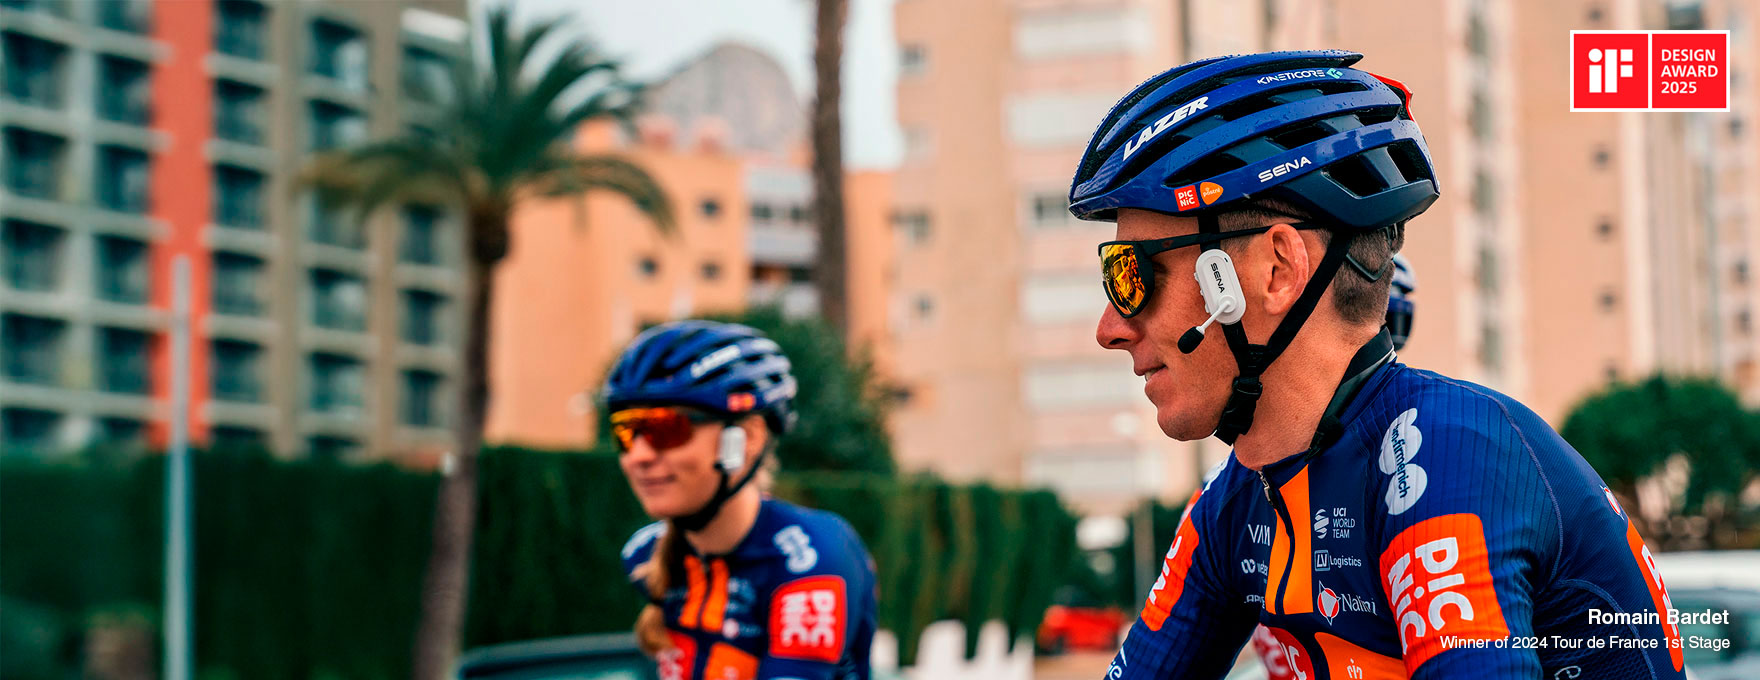
The Ultimate Cycling Communicator:
Ultra-light. Ultra-functional. Built for Cyclists at Just 20 Grams
TEAM COMMUNICATION SOLUTIONS AND INNOVATIONS
Sena communication devices help you stay connected and in control for Motorcycling, Cycling, Outdoor, Marine and beyond. Whoever you are, there's a Sena for you.
-
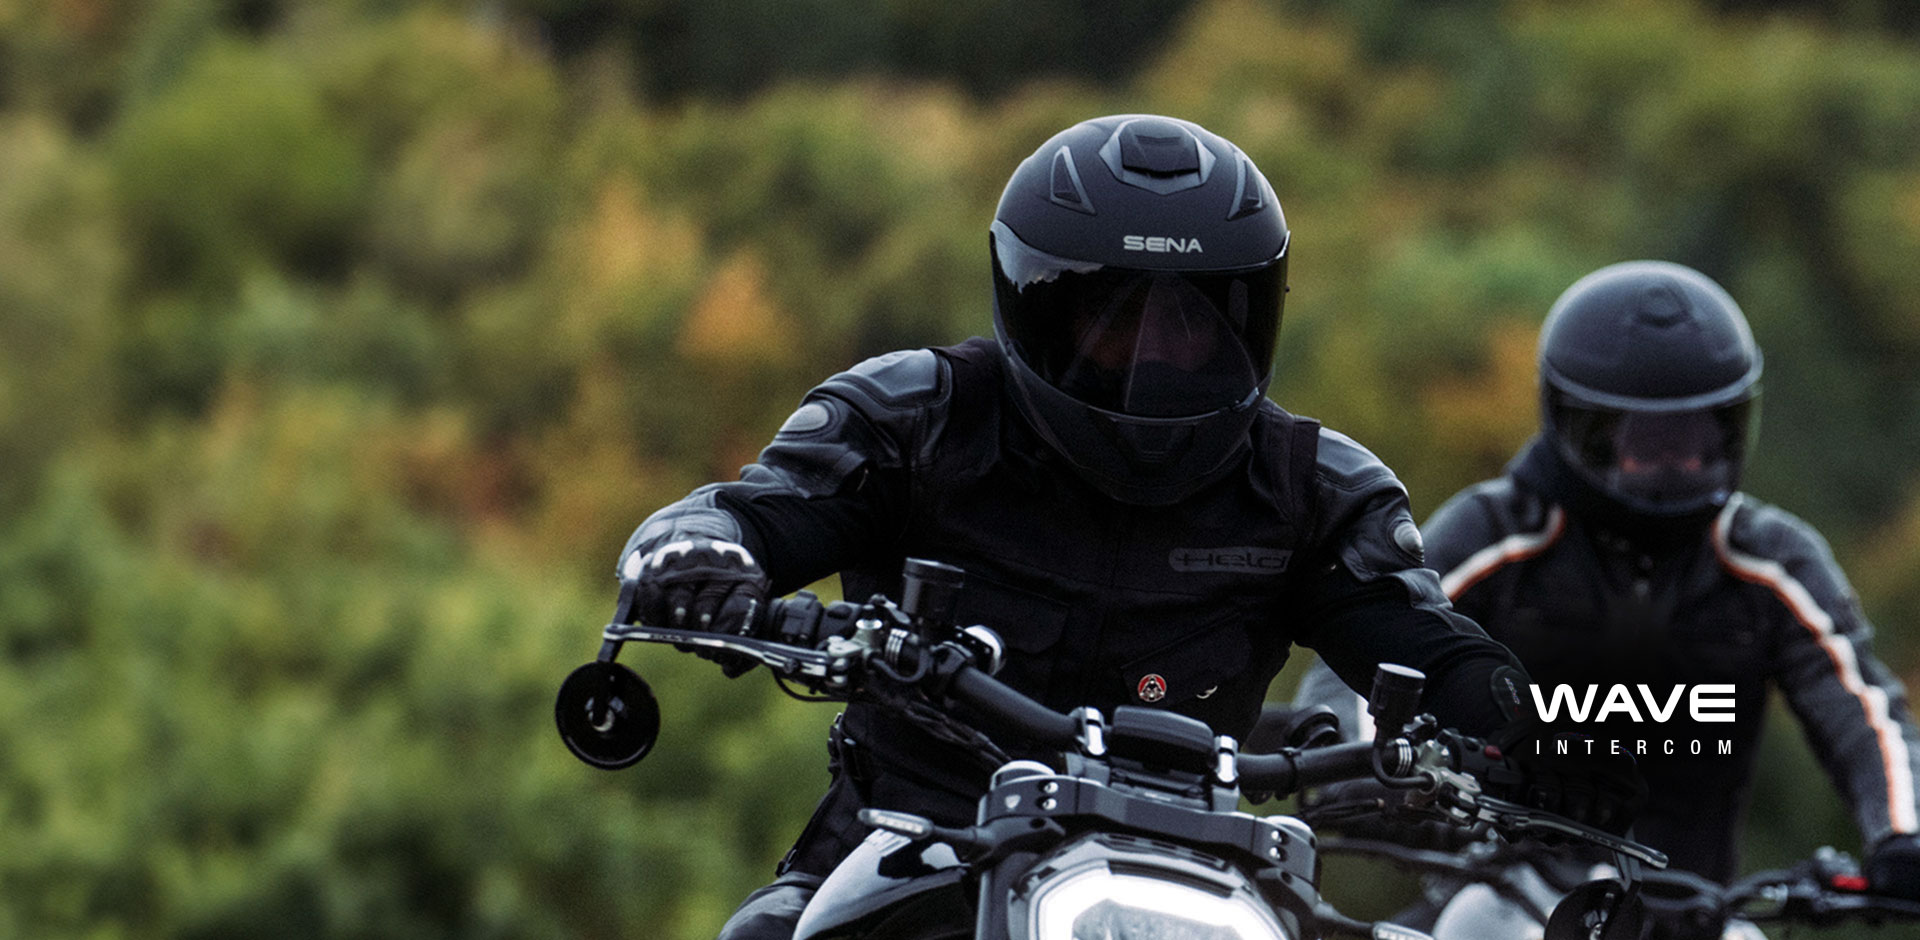
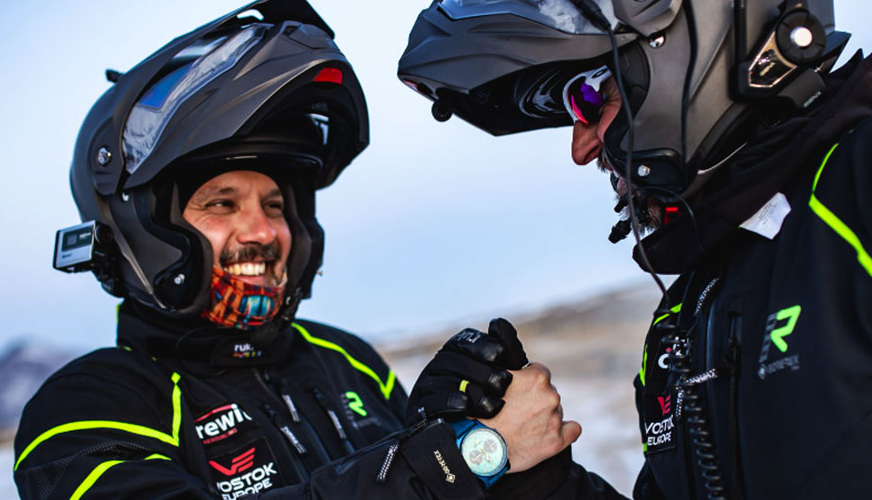
 Motorcycling
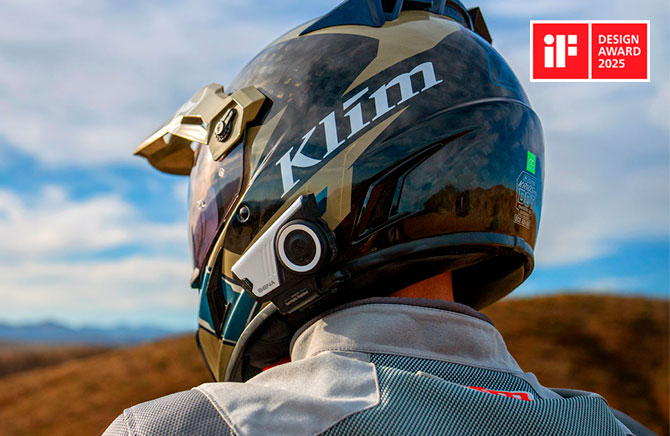
From Mesh & Bluetooth integrated helmets, headsets, and cameras to remote controls, adapters and accessories - we've got you covered.
-
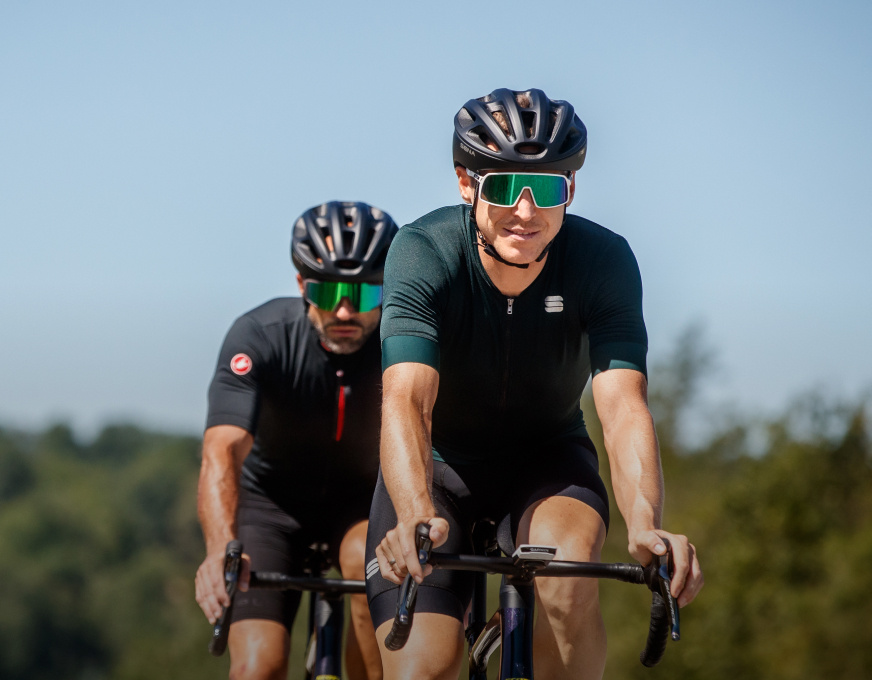
Cycling
Adapting our proven Bluetooth Intercom and Mesh Intercom technology to all aspects of cycling, for you to #RideConnected!
-
Outdoor
Keep in touch while hiking, climbing, skydiving, or doing whatever gets you outside. Sena enhances the lives of speed demons and action-seekers everywhere.
-
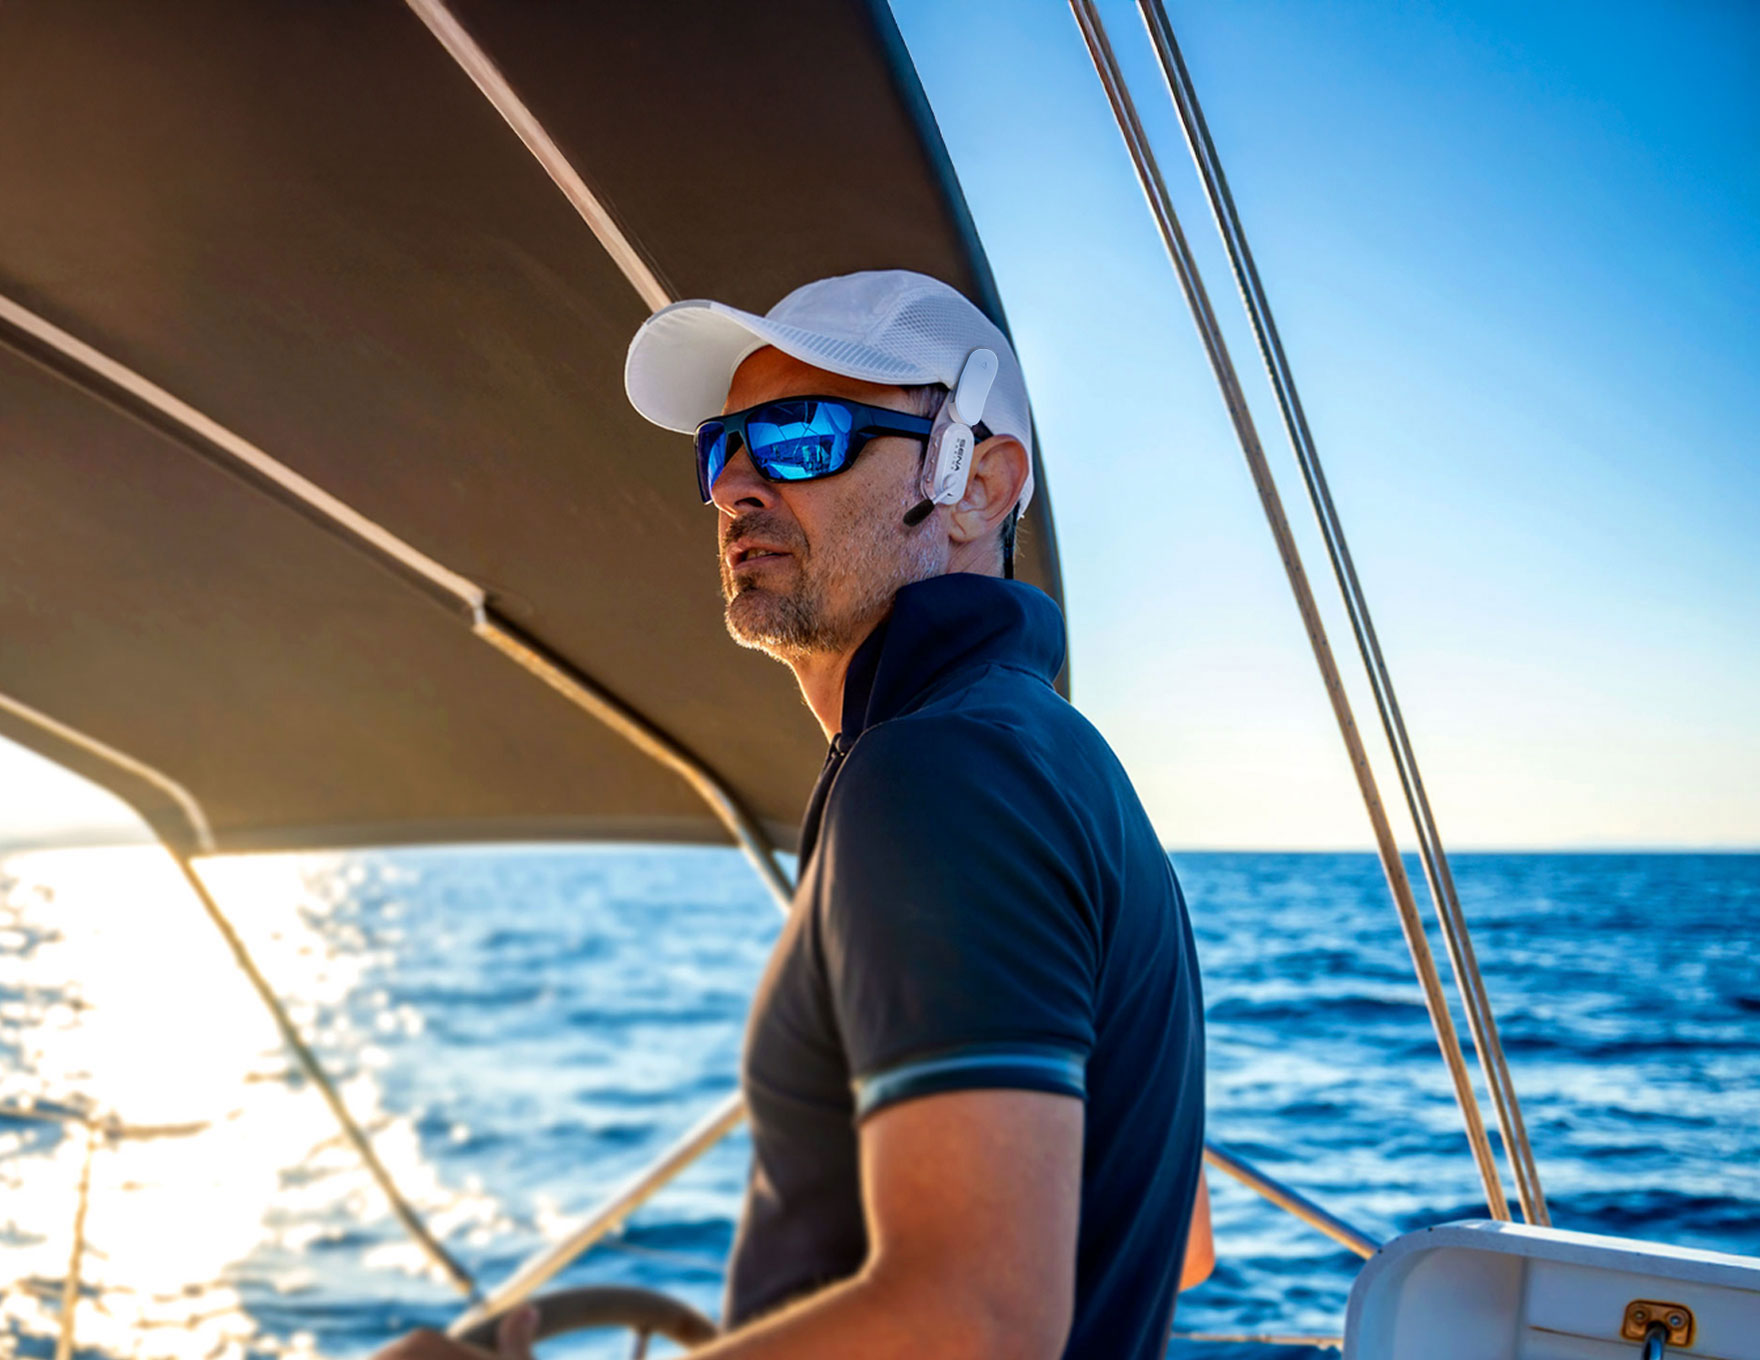
Marine
Sena keeps everyone on the same wavelength by making sailing safer and more communicative.


THE SENA DIFFERENCE
-
2nd Generation Harman Kardon
Sena’s latest products immerse you in richer and crystal-clear sound with AI-based noise cancellation, delivering an unmatched riding experience even at high speeds and in strong winds.
-
Mesh & Bluetooth Intercom™
Sena’s latest Mesh 3.0 technology provides stronger connectivity and clearer sound with extended talk time, enhancing intercom performance even in challenging environments.
-
Safety Plus Innovation
Sena's innovations are seamlessly integrated into intuitive designs, presenting various convenient features to keep the riders focused on the road.


MEET OUR LATEST INNOVATIONS
-
Motorcycling
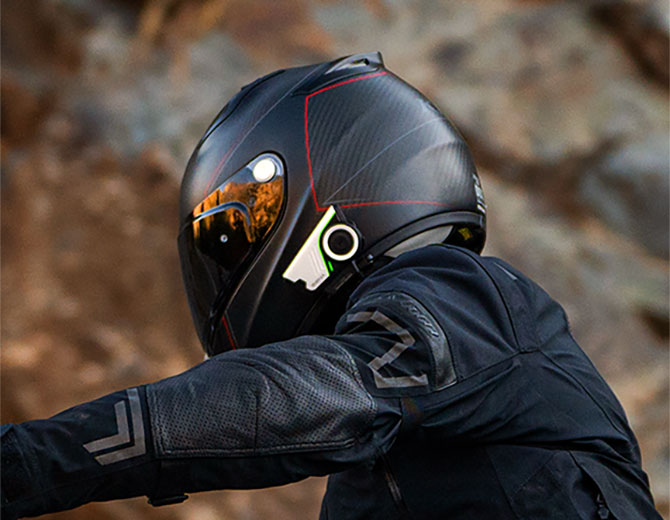
60SMotorcycling
Meet the next level of motorcycle communication with the all-new Sena 60S. Powered by Mesh 3.0, it ensures a more robust connection and superior sound quality for seamless motorcycle communication.
-
Cycling
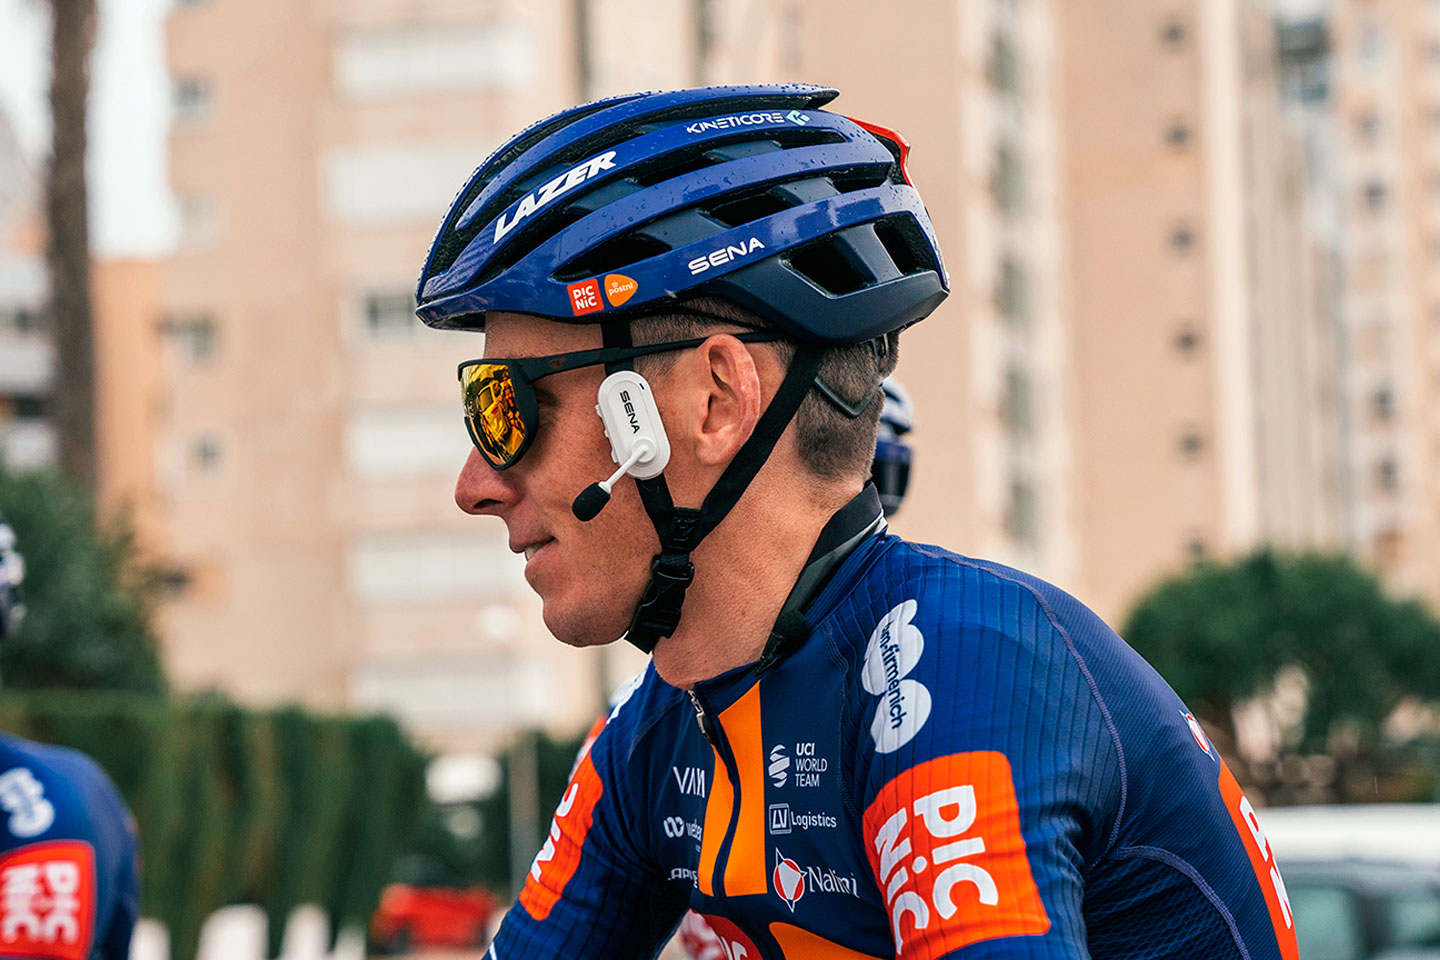
BiKom 20Cycling
The Bikom 20 redefines cycling communication as the world’s most compact and lightweight communicator, designed specifically to meet the rigorous demands of performance cyclists.
-
Marine
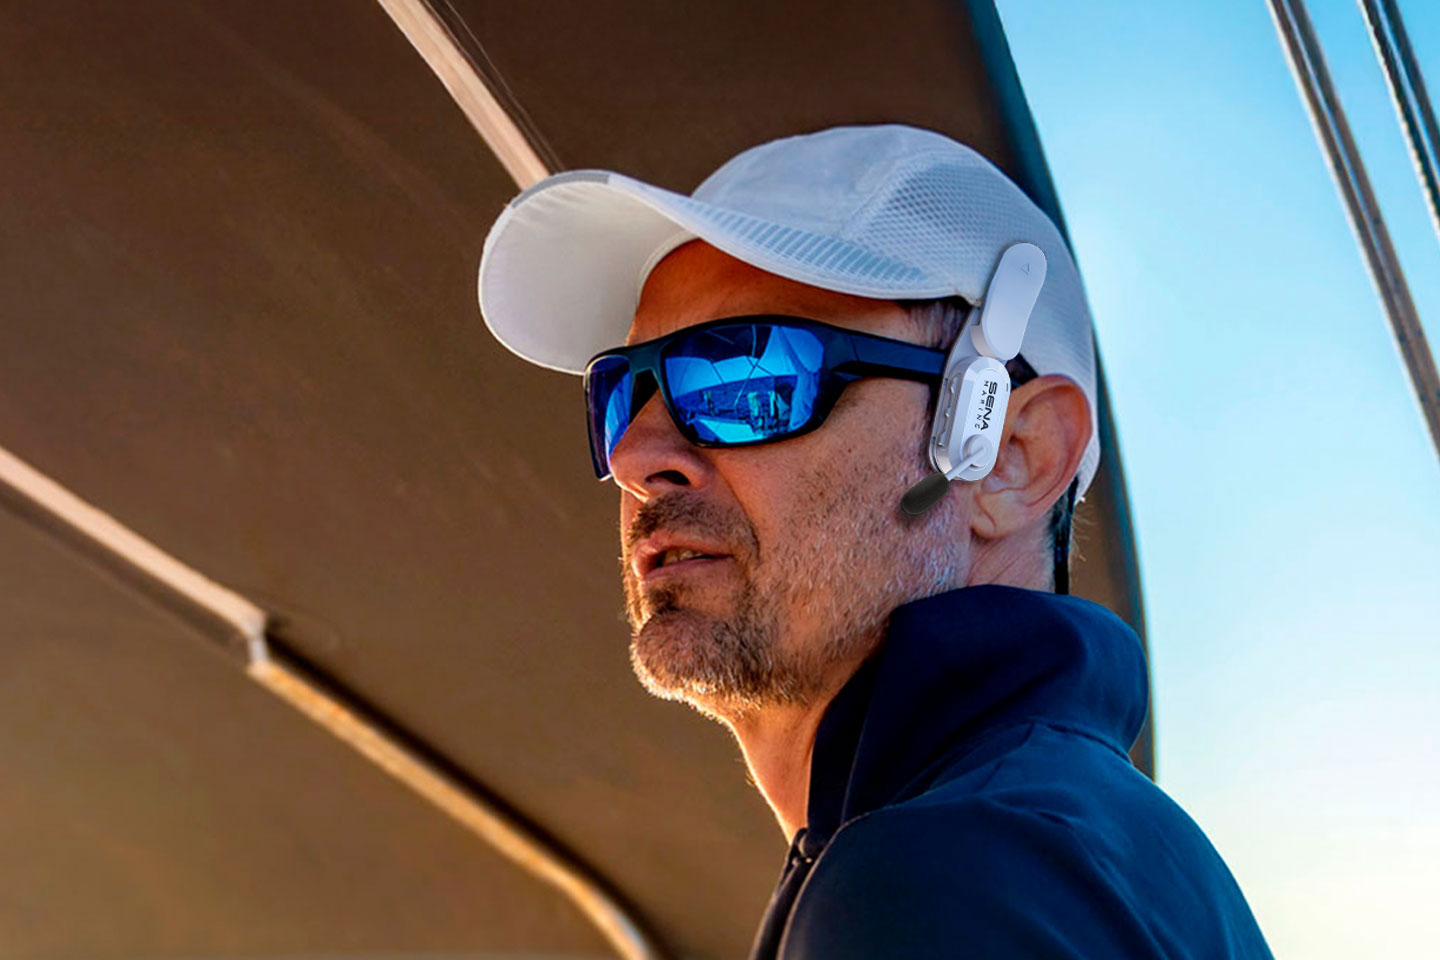
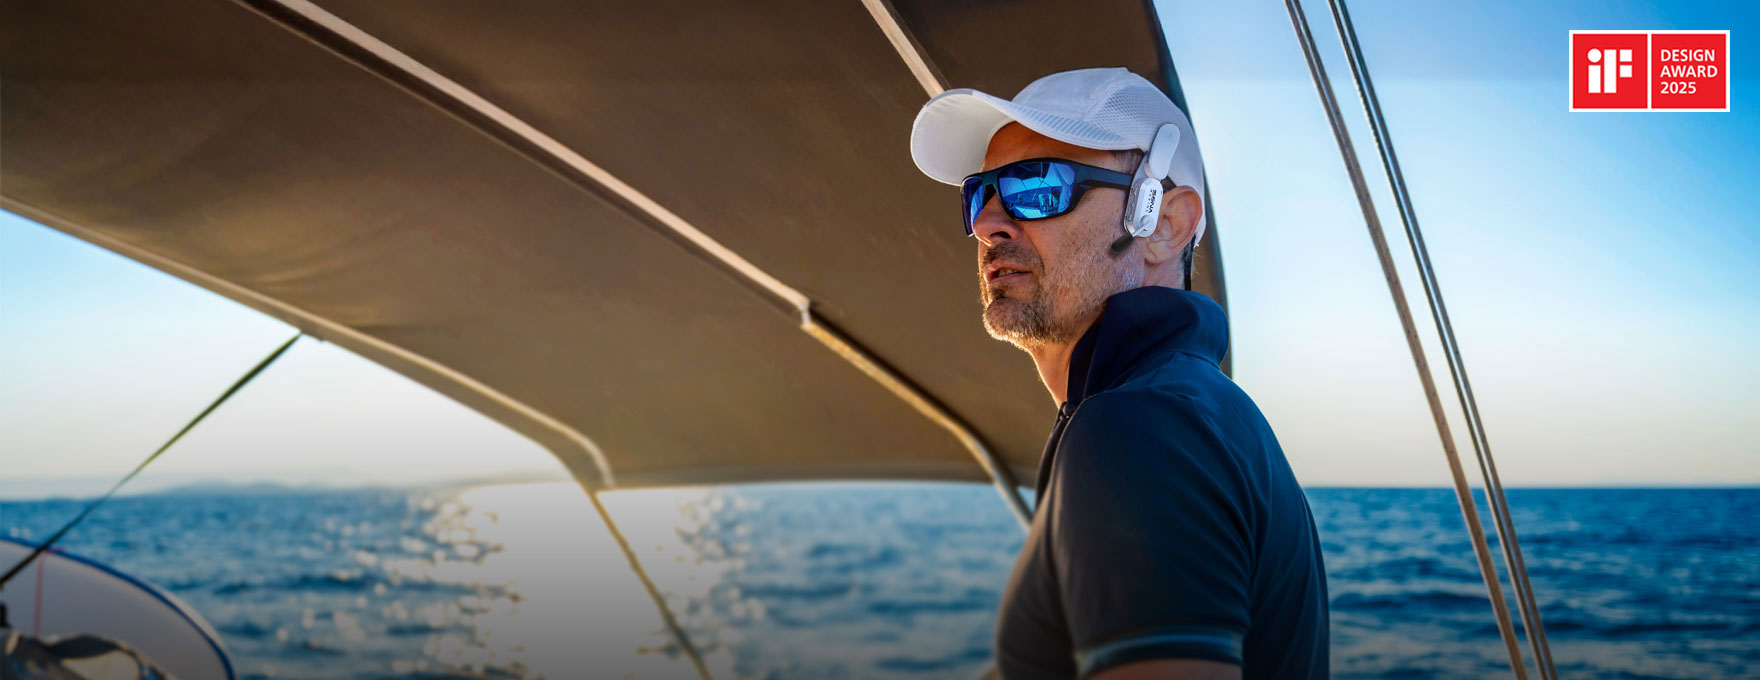
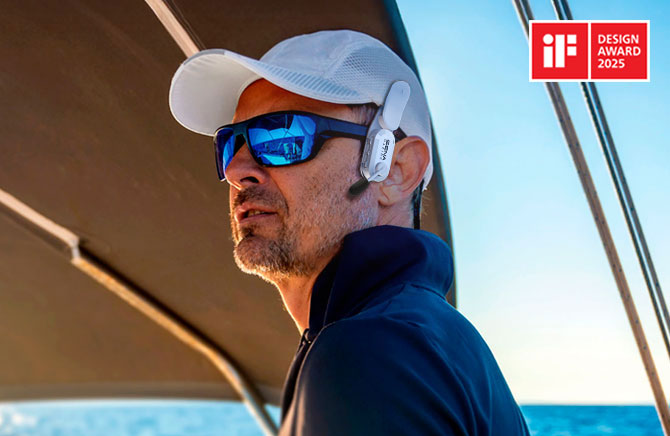
NAUTITALK CREWMarine
Discover the ultimate lightweight and compact Mesh Intercom communicator, purpose-built for marine environments.
-
Outdoor
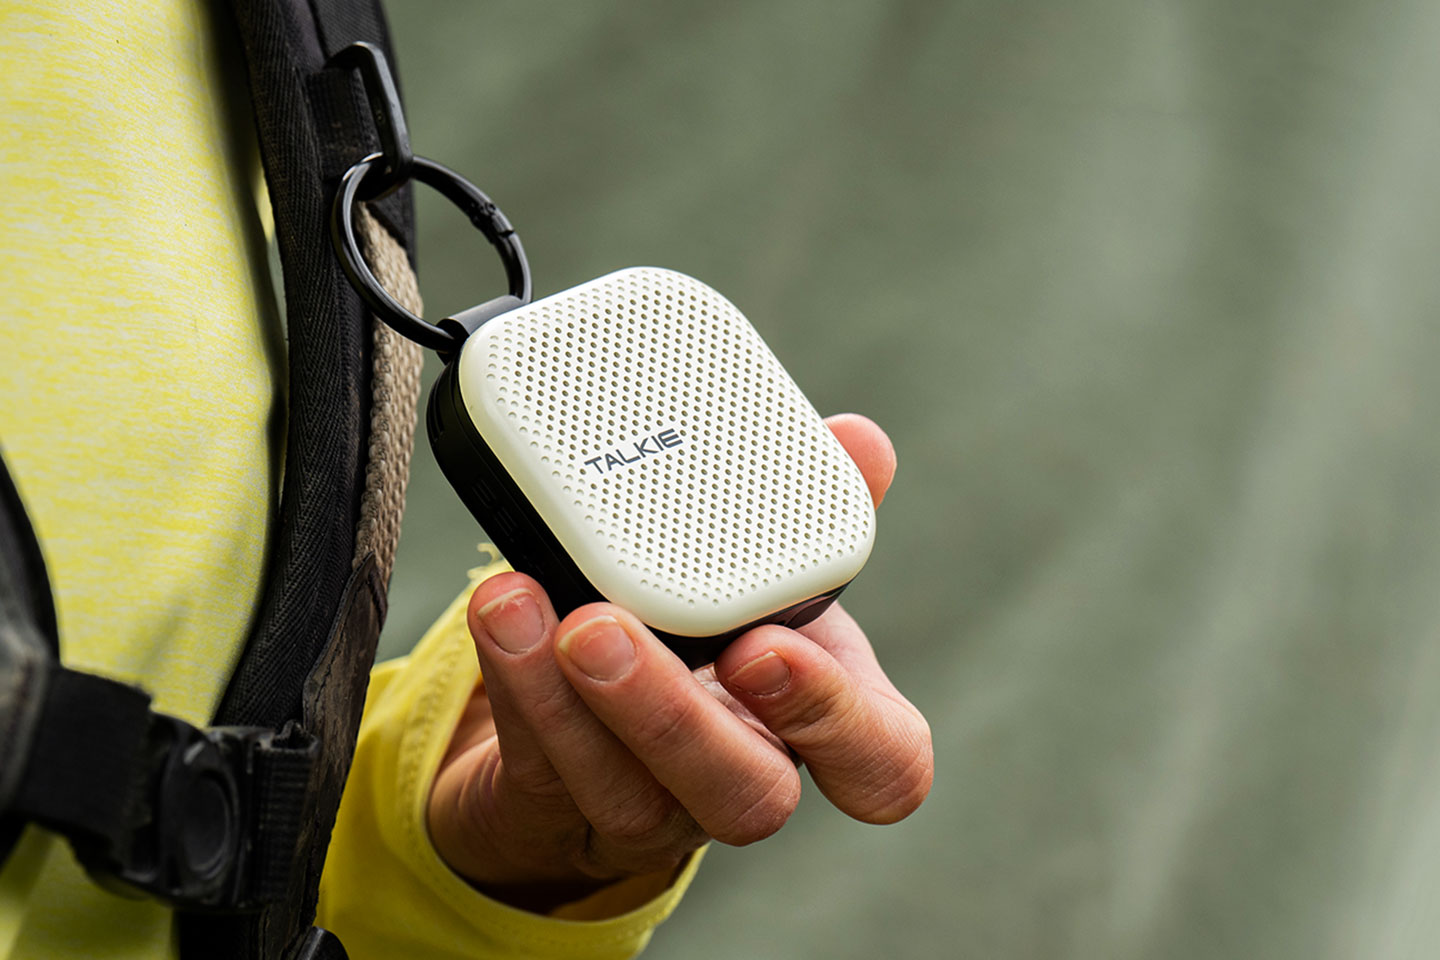
TALKIEOutdoor
Experience outdoor group activities like never before with TALKIE - the ultimate hands-free wireless communicator.


-
People with Sena
-
Collaborations

-
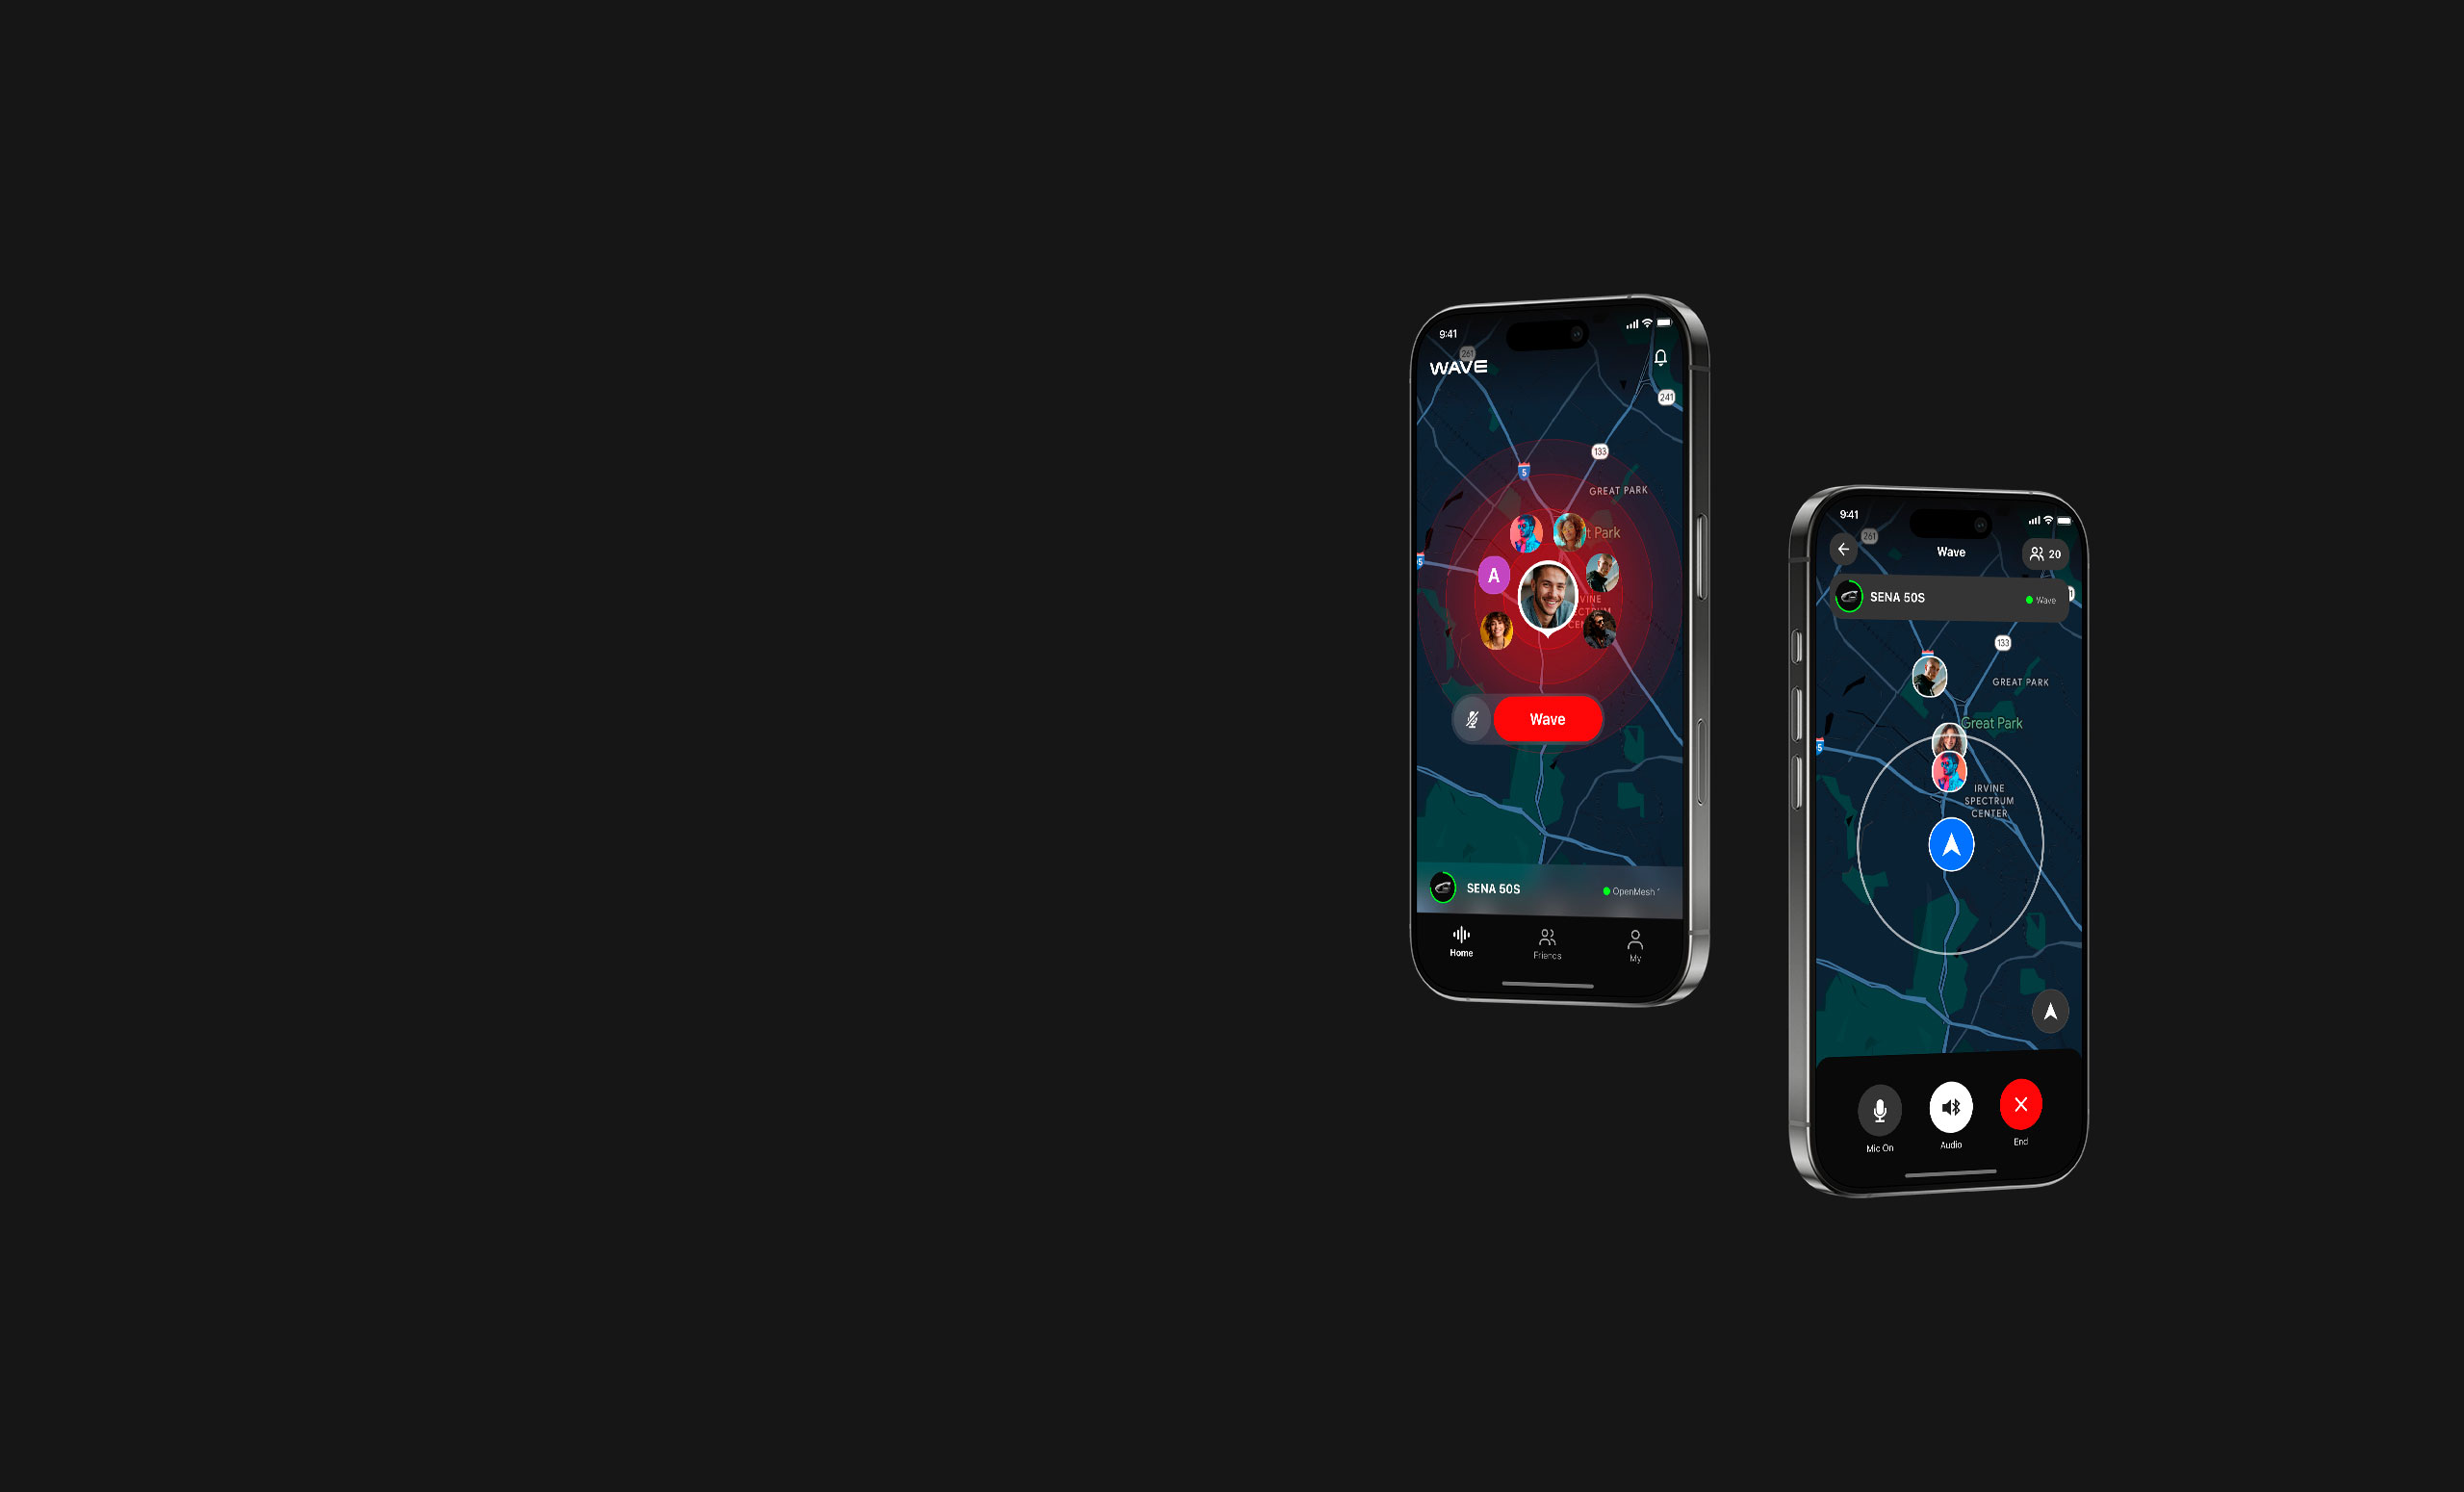
the Sena Connect app
GET CONNECTED!
GET CONNECTED!
DISCOVER APPS
BY SENAConnect the apps to your devices and experience
Sena’s innovative communication solutions.