

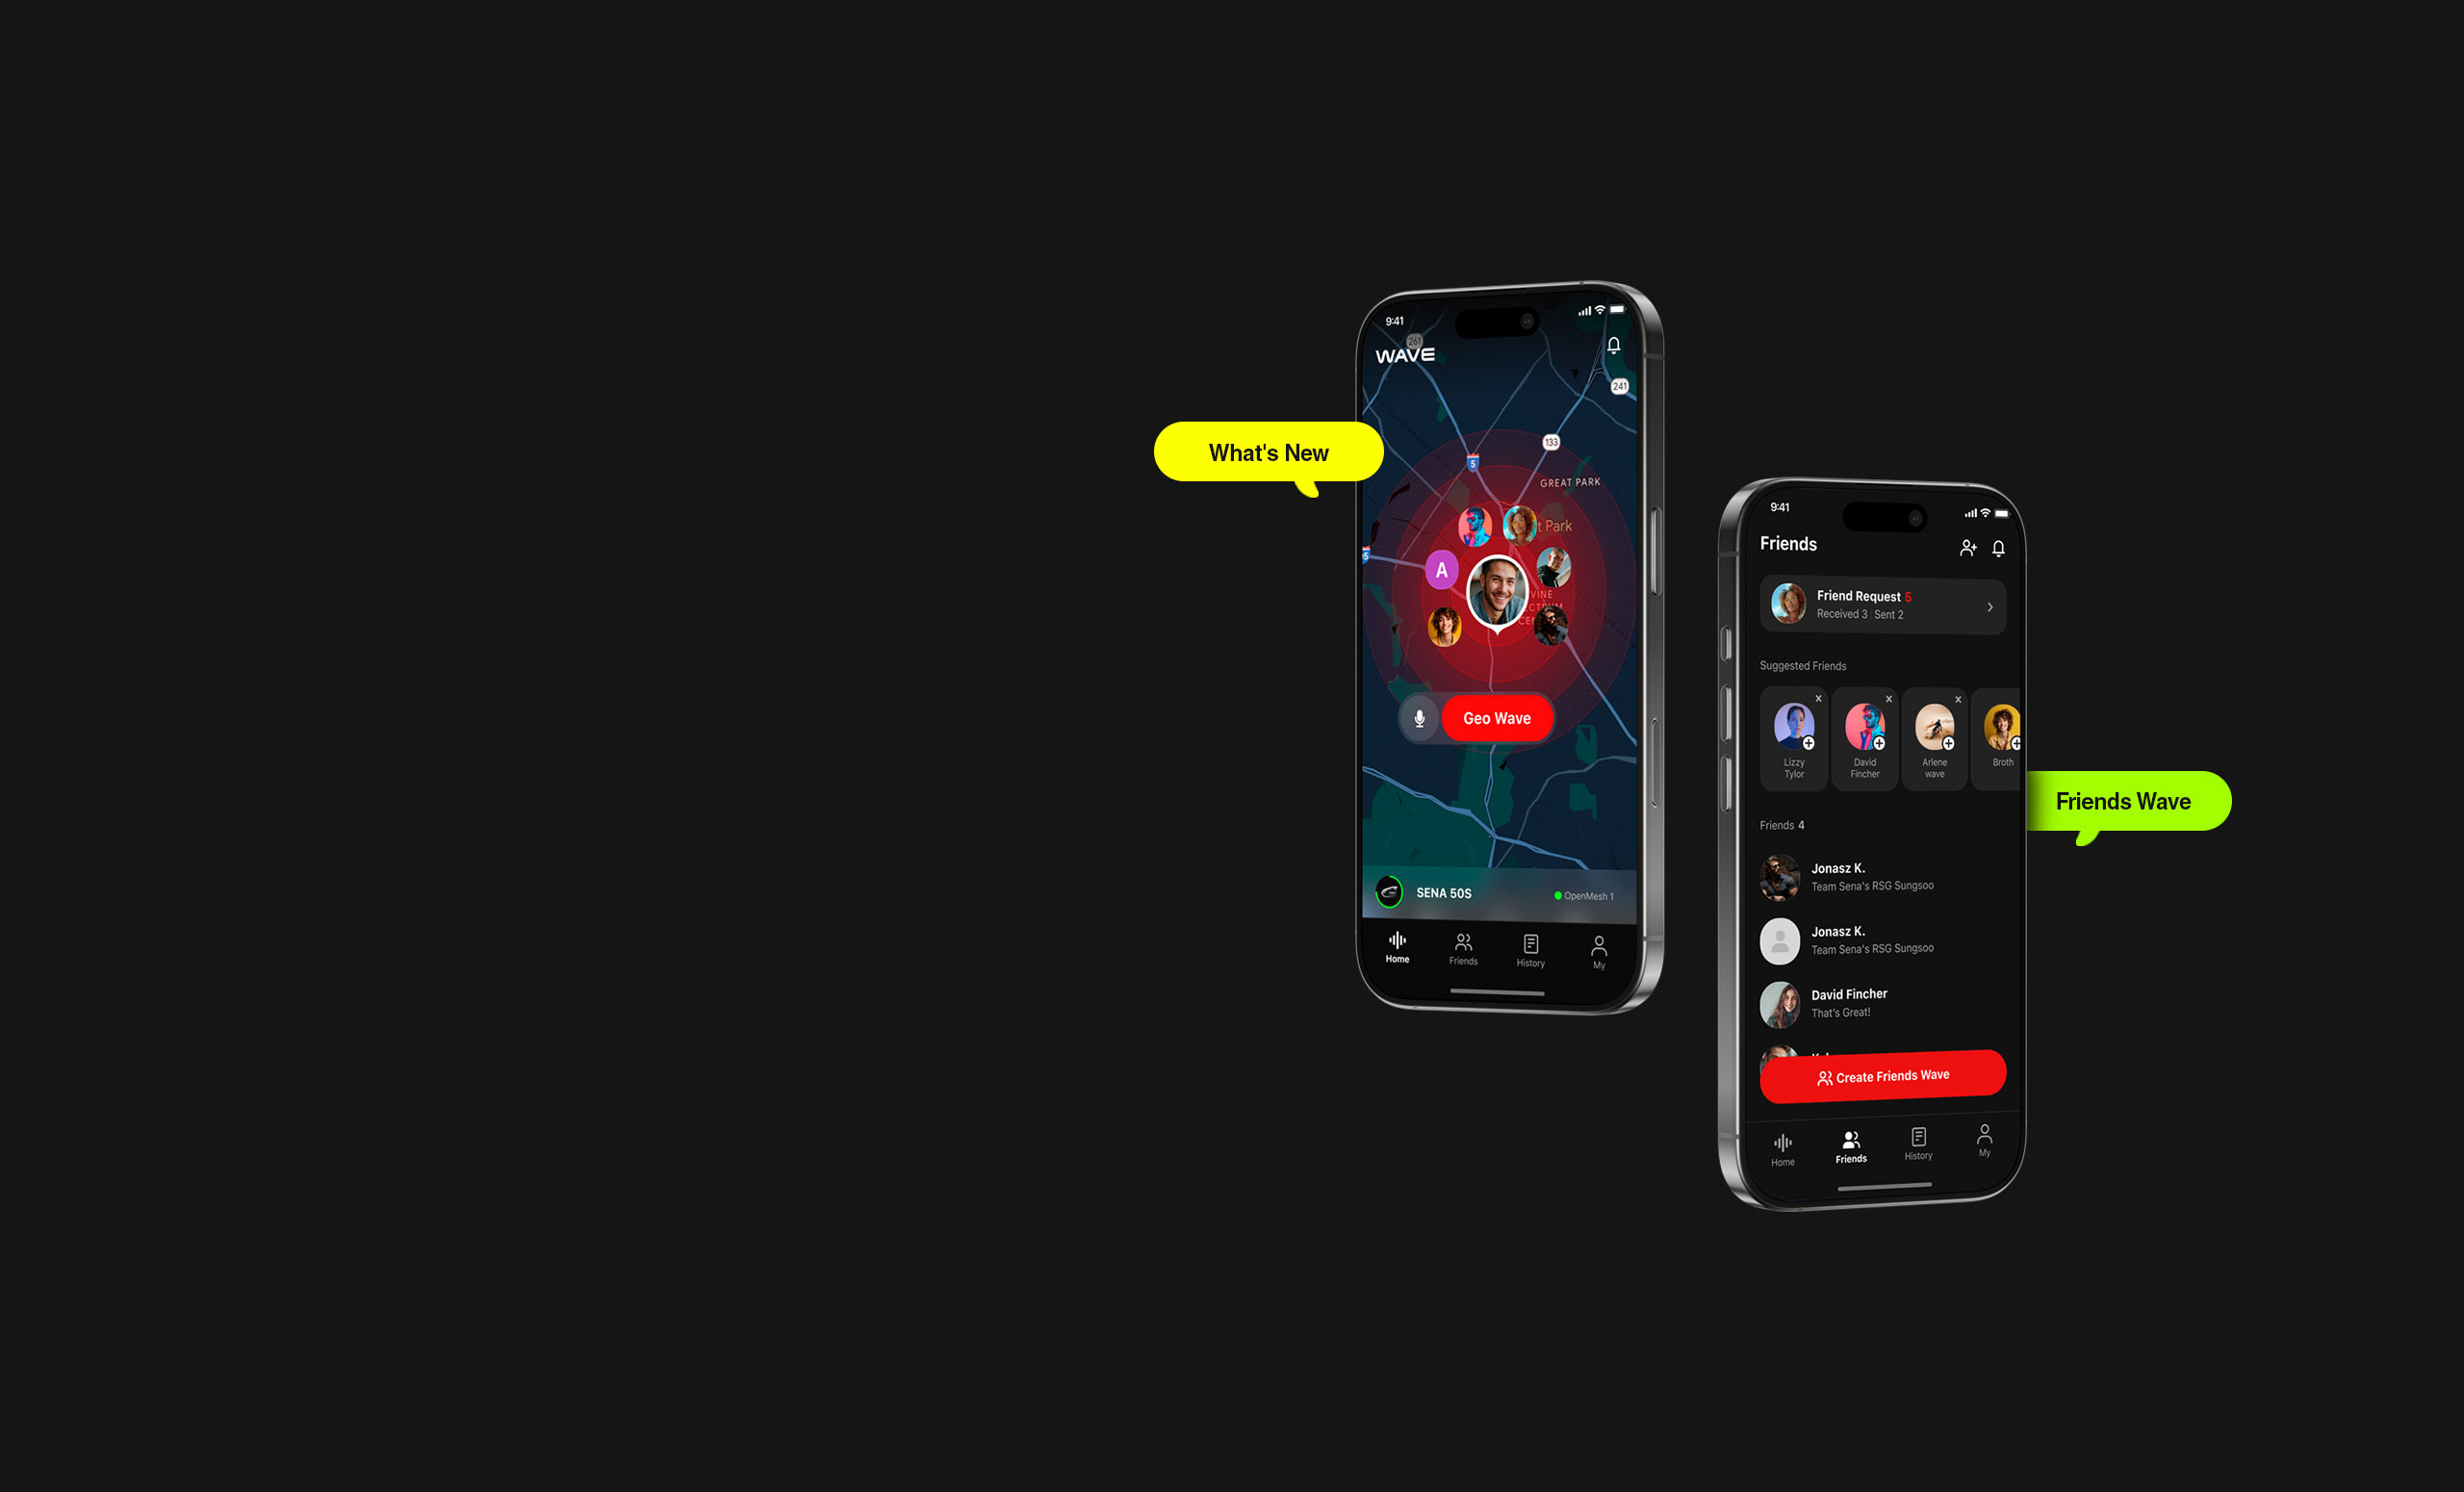
WAVE INTERCOM
The New Standard in Motorcycle Communication:
Now With Our Latest Update – Friends Wave
TEAM COMMUNICATION SOLUTIONS AND INNOVATIONS
Sena communication devices help you stay connected and in control for Motorcycling, Cycling, Outdoor, Marine and beyond. Whoever you are, there's a Sena for you.
-
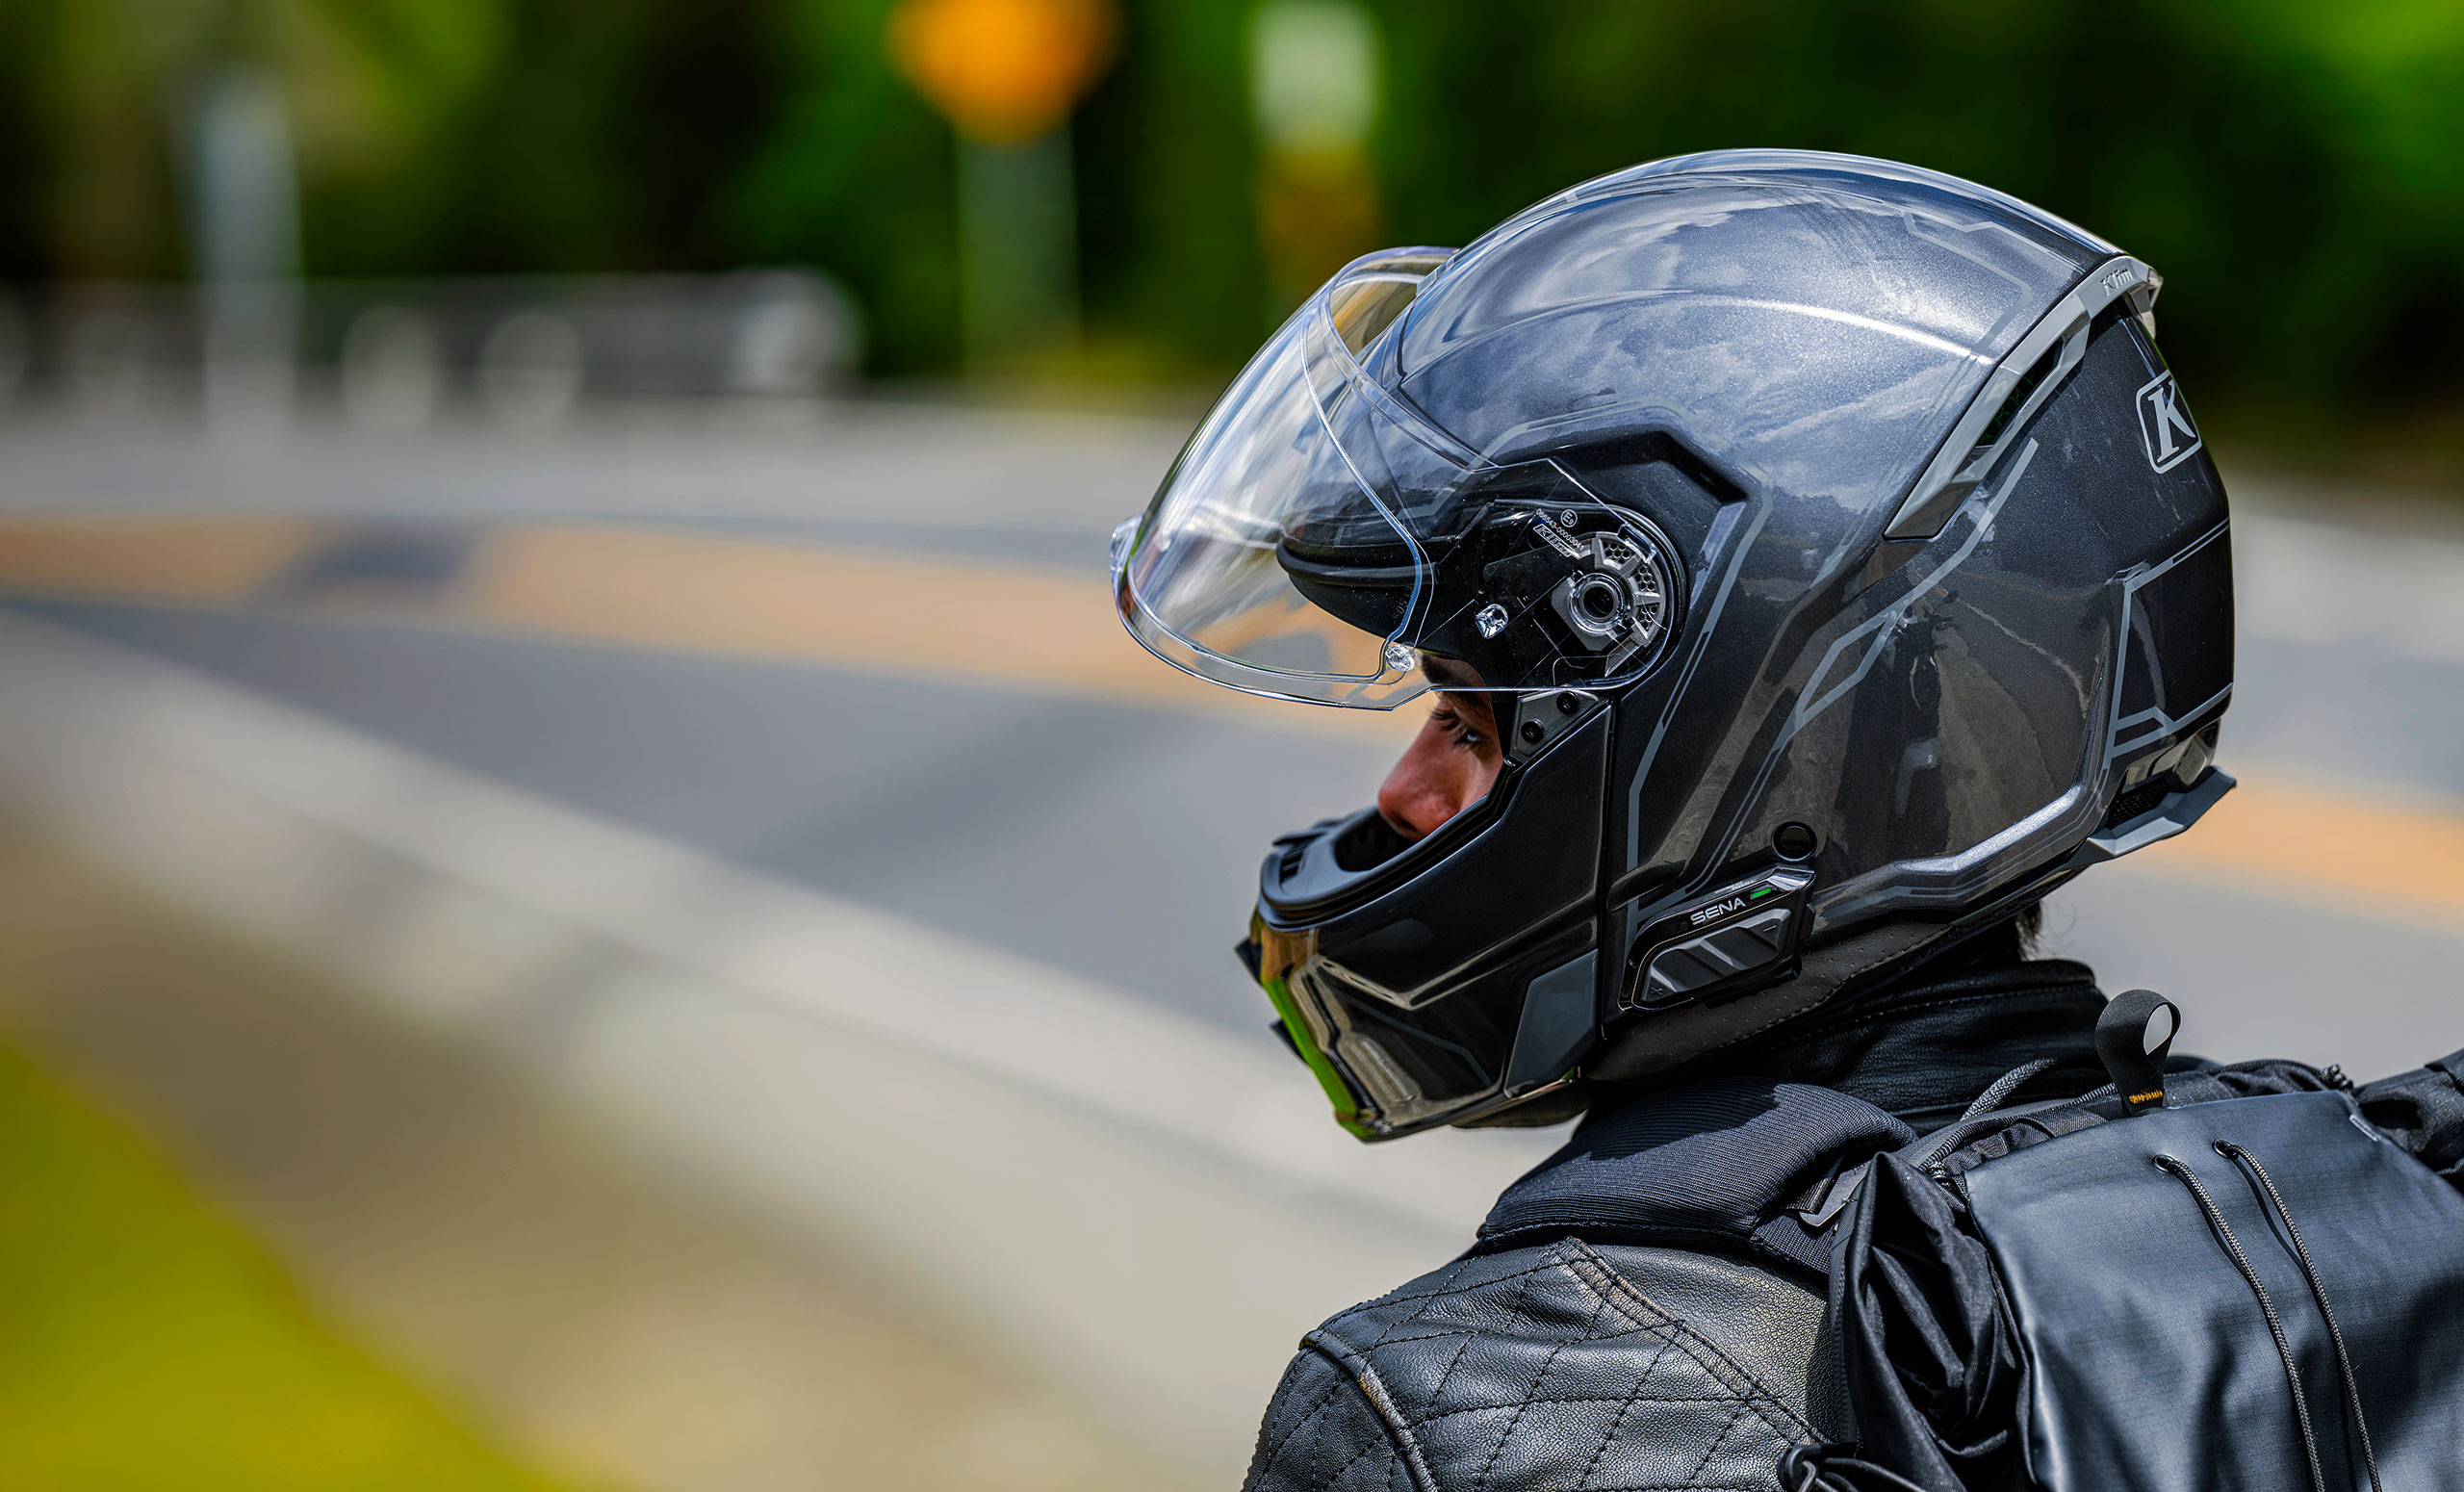
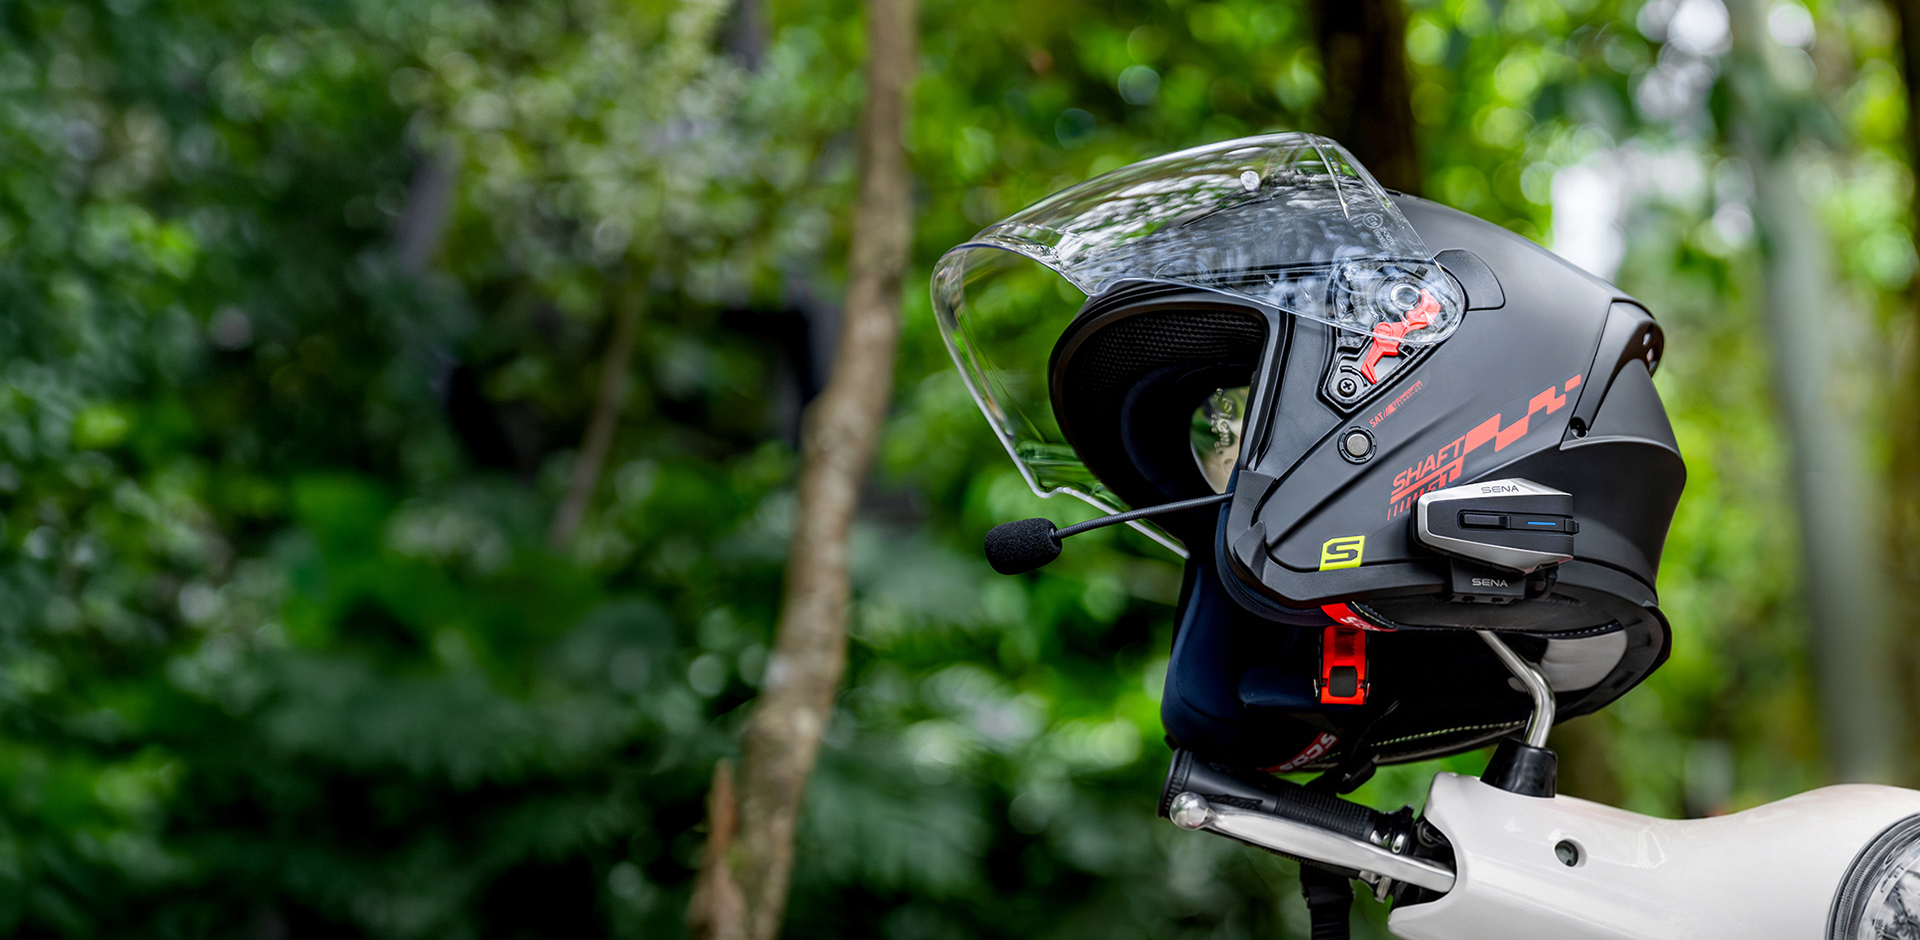
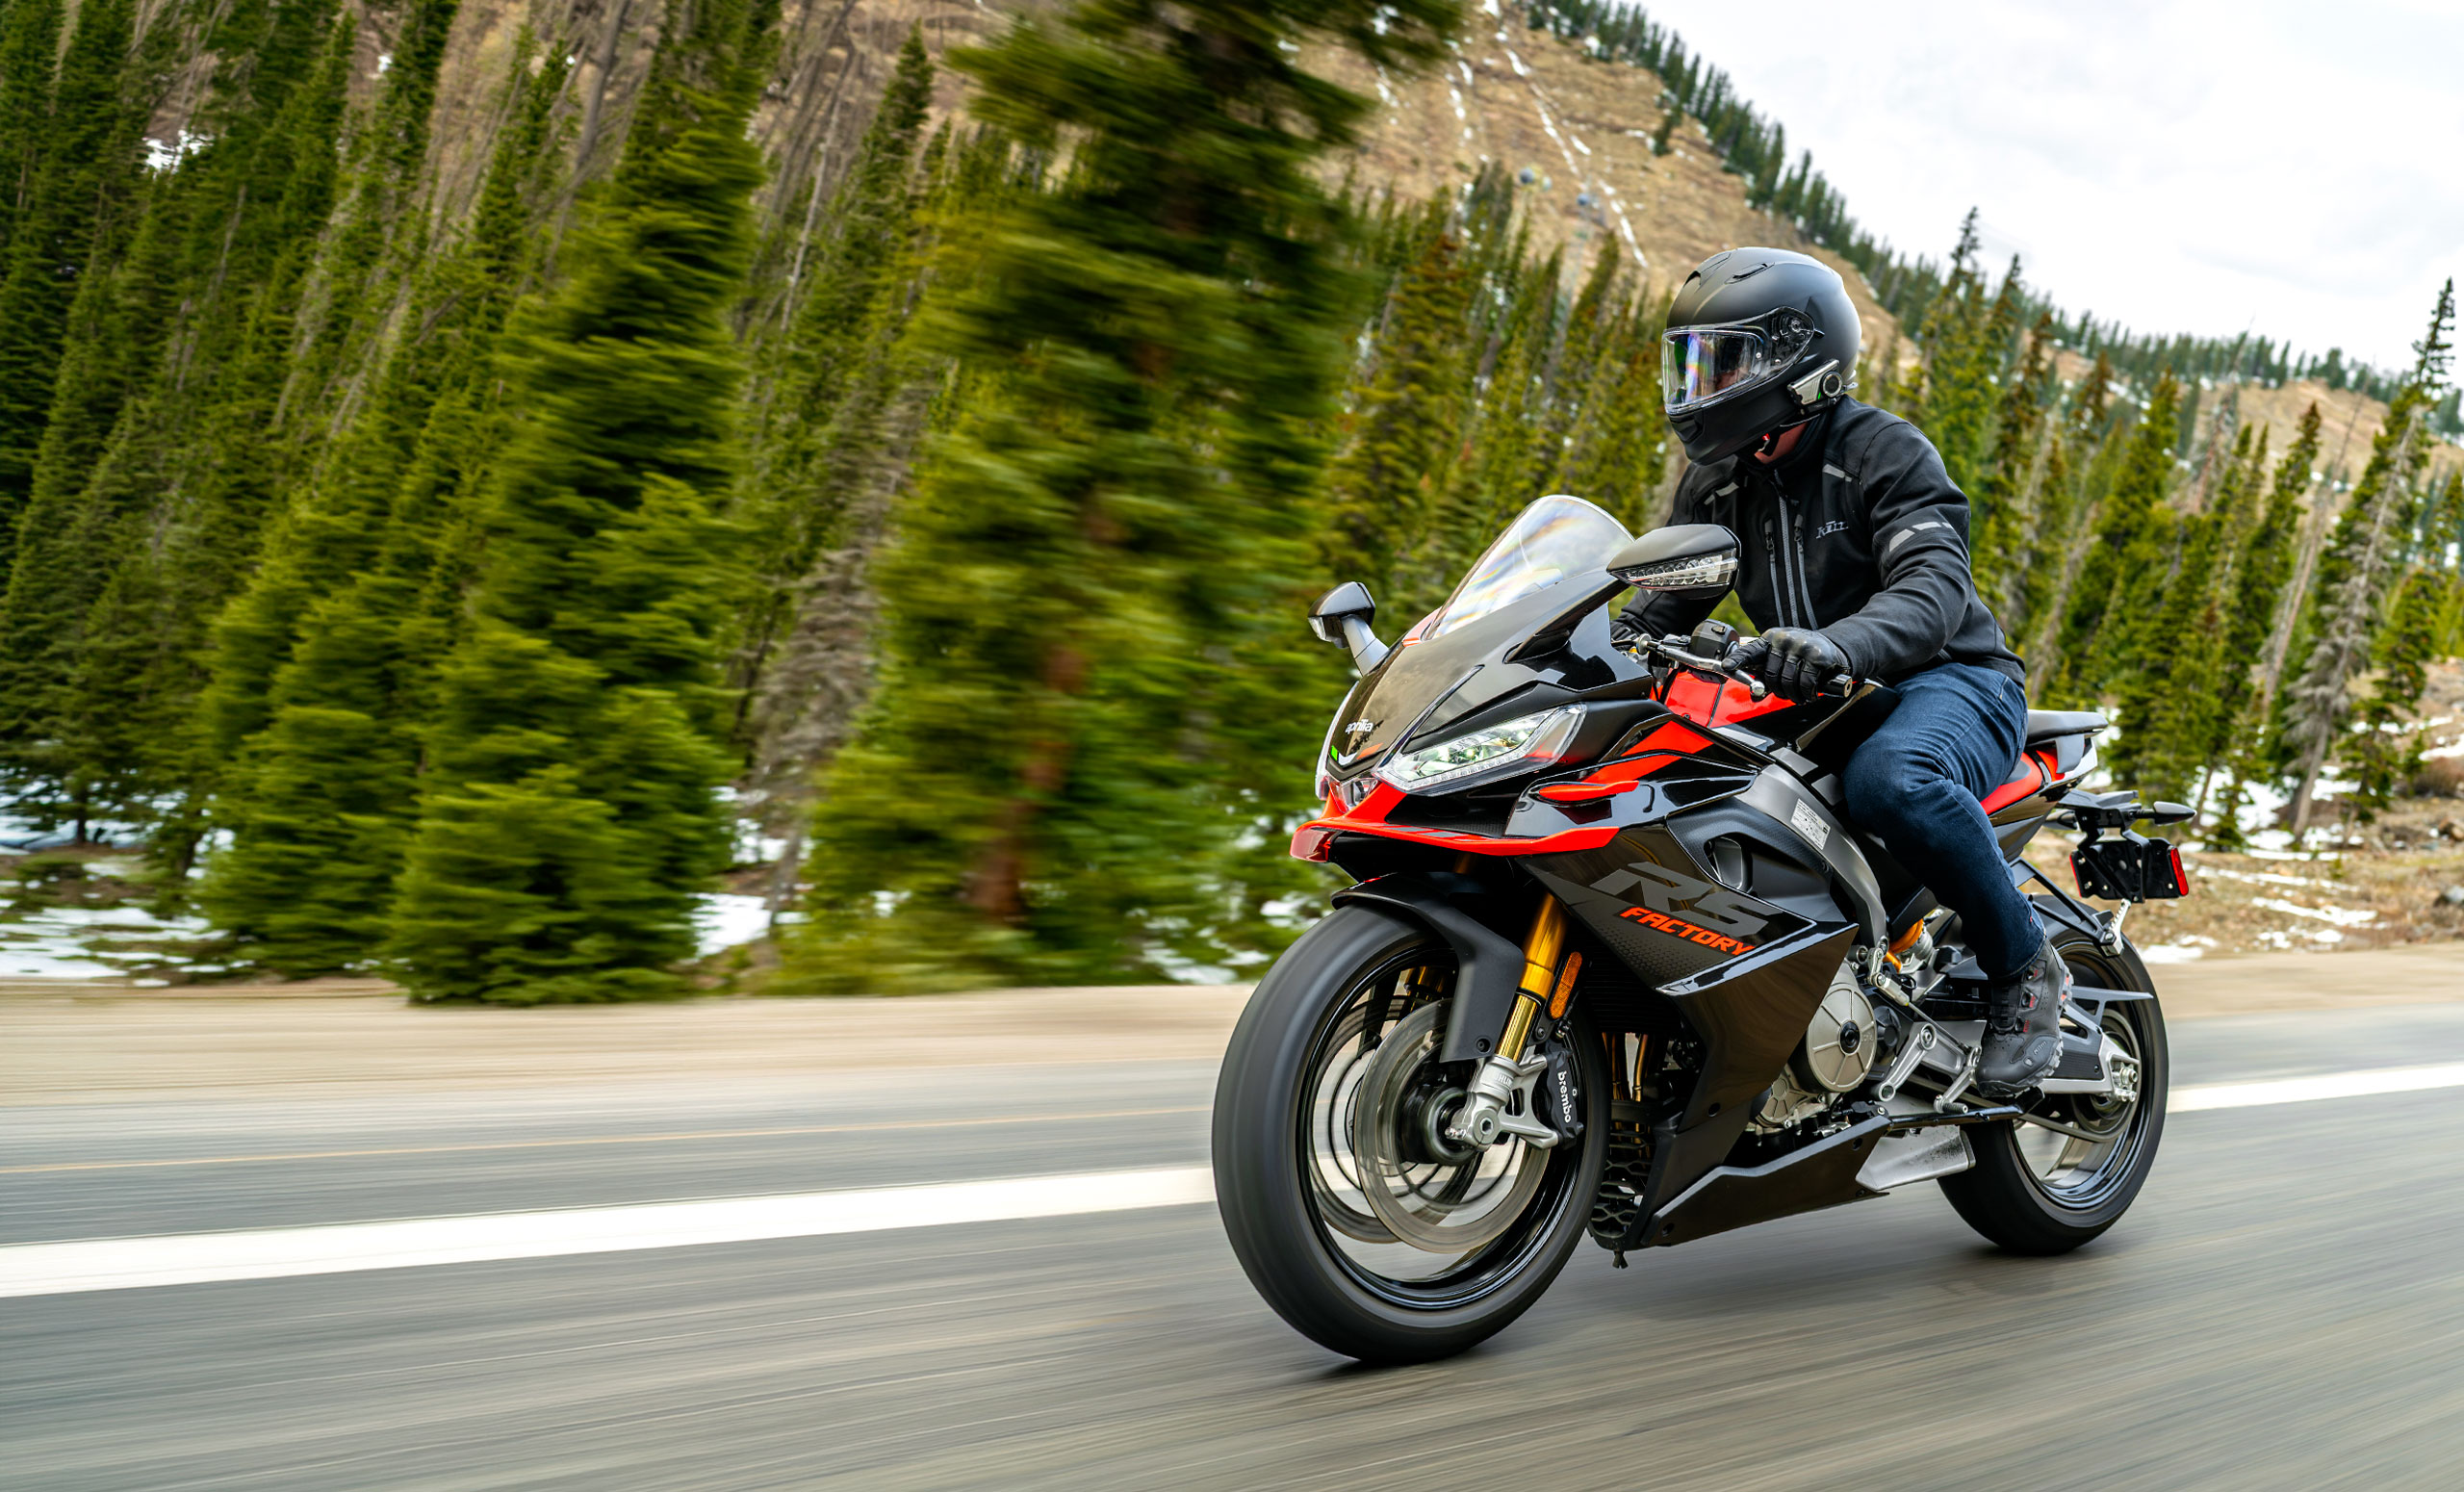
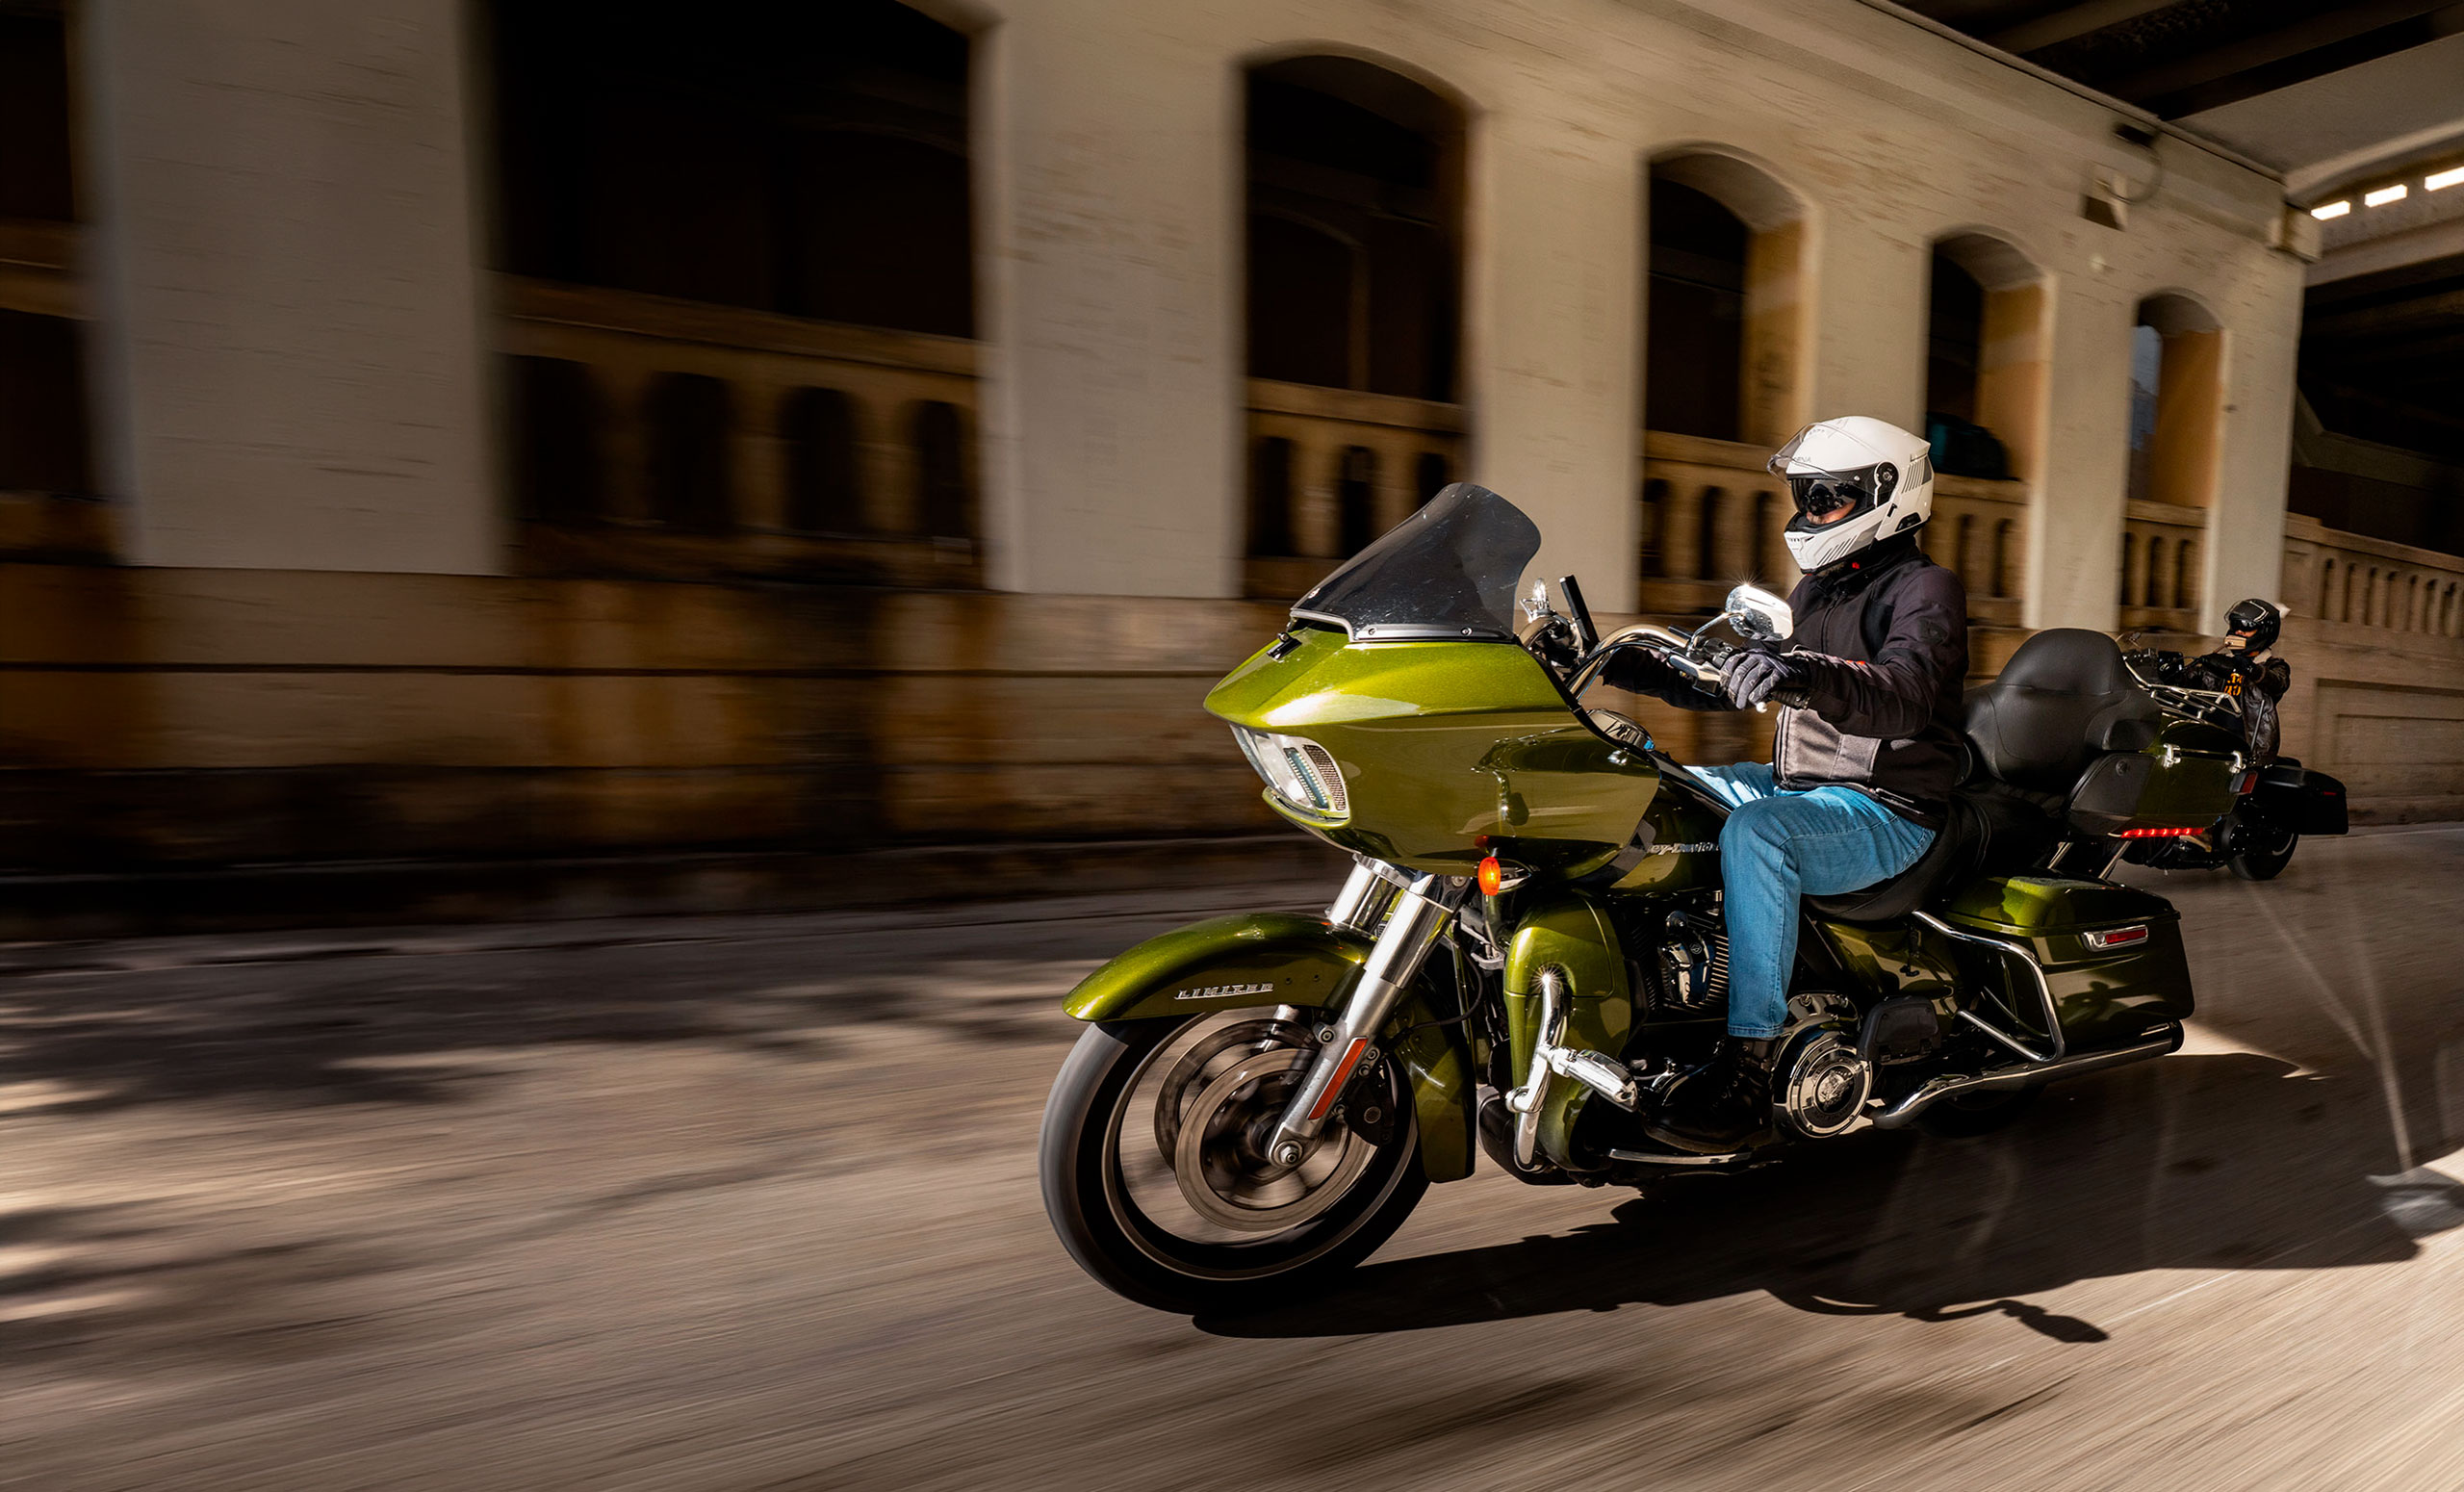
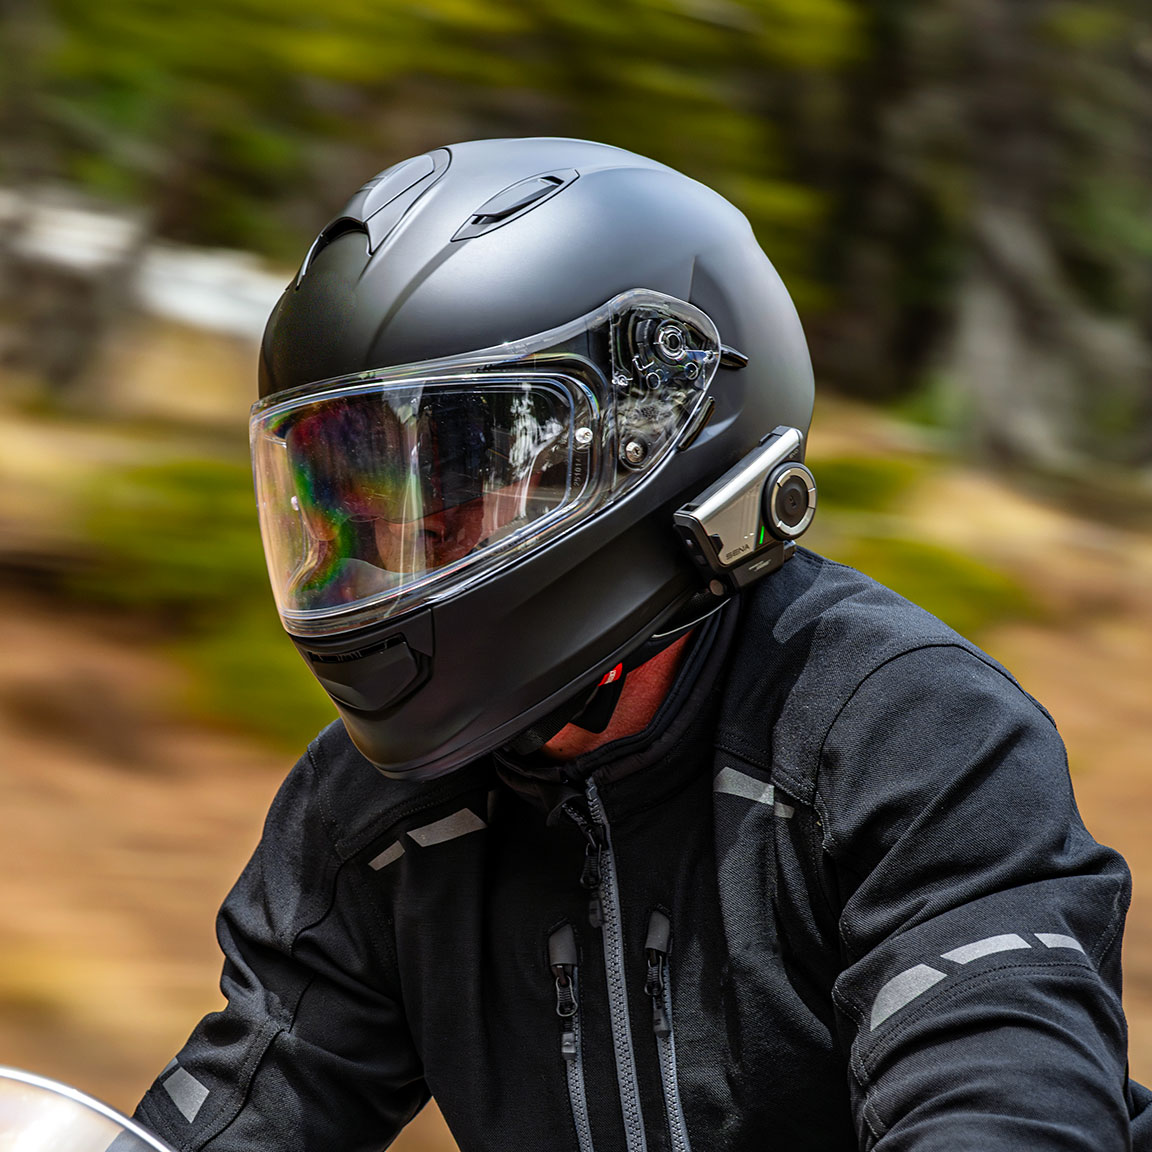
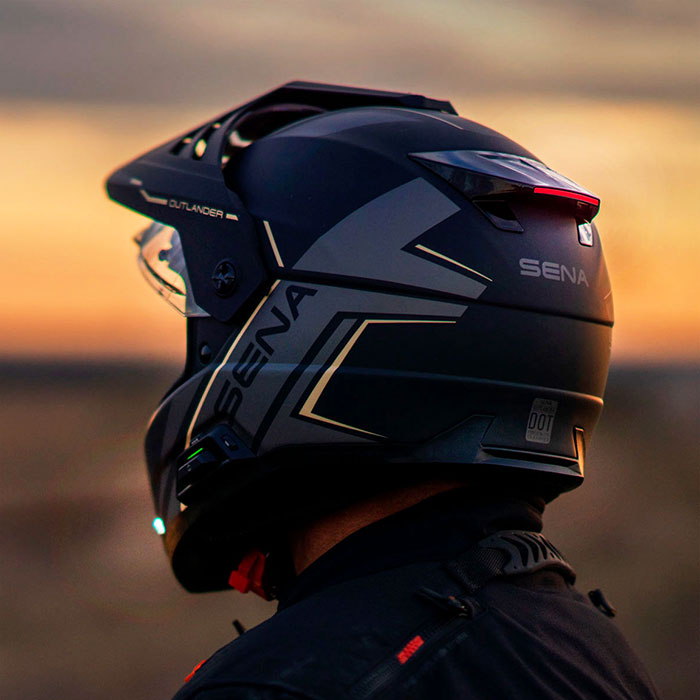
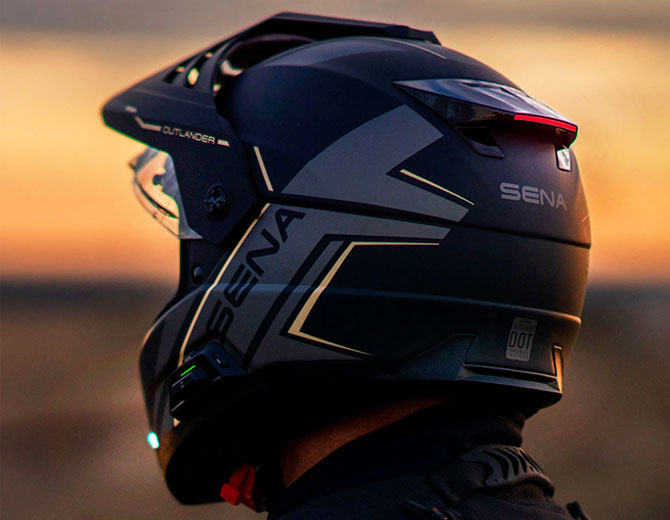
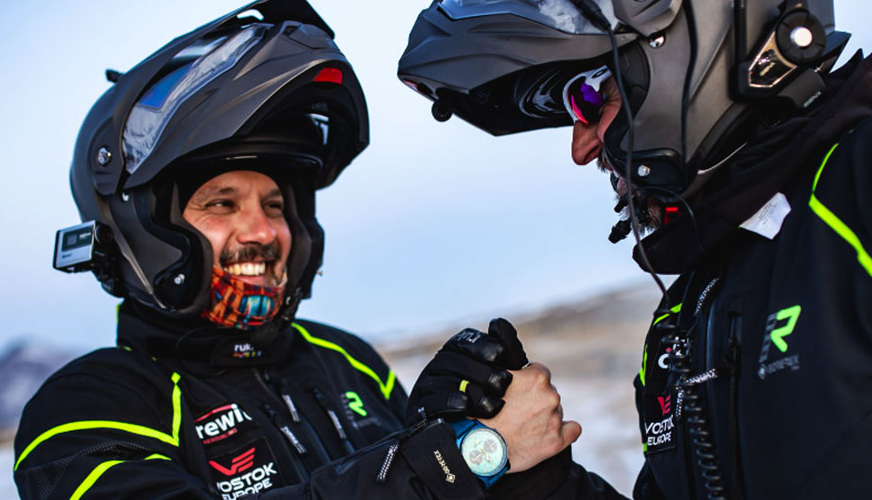
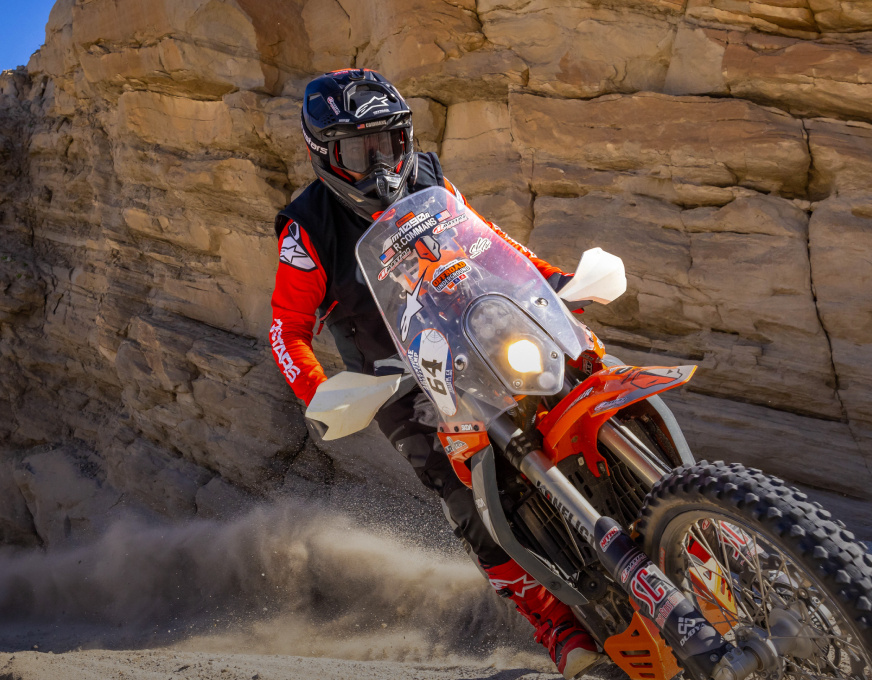 Motorcycling
From Mesh & Bluetooth integrated helmets, headsets, and cameras to remote controls, adapters and accessories - we've got you covered.
-
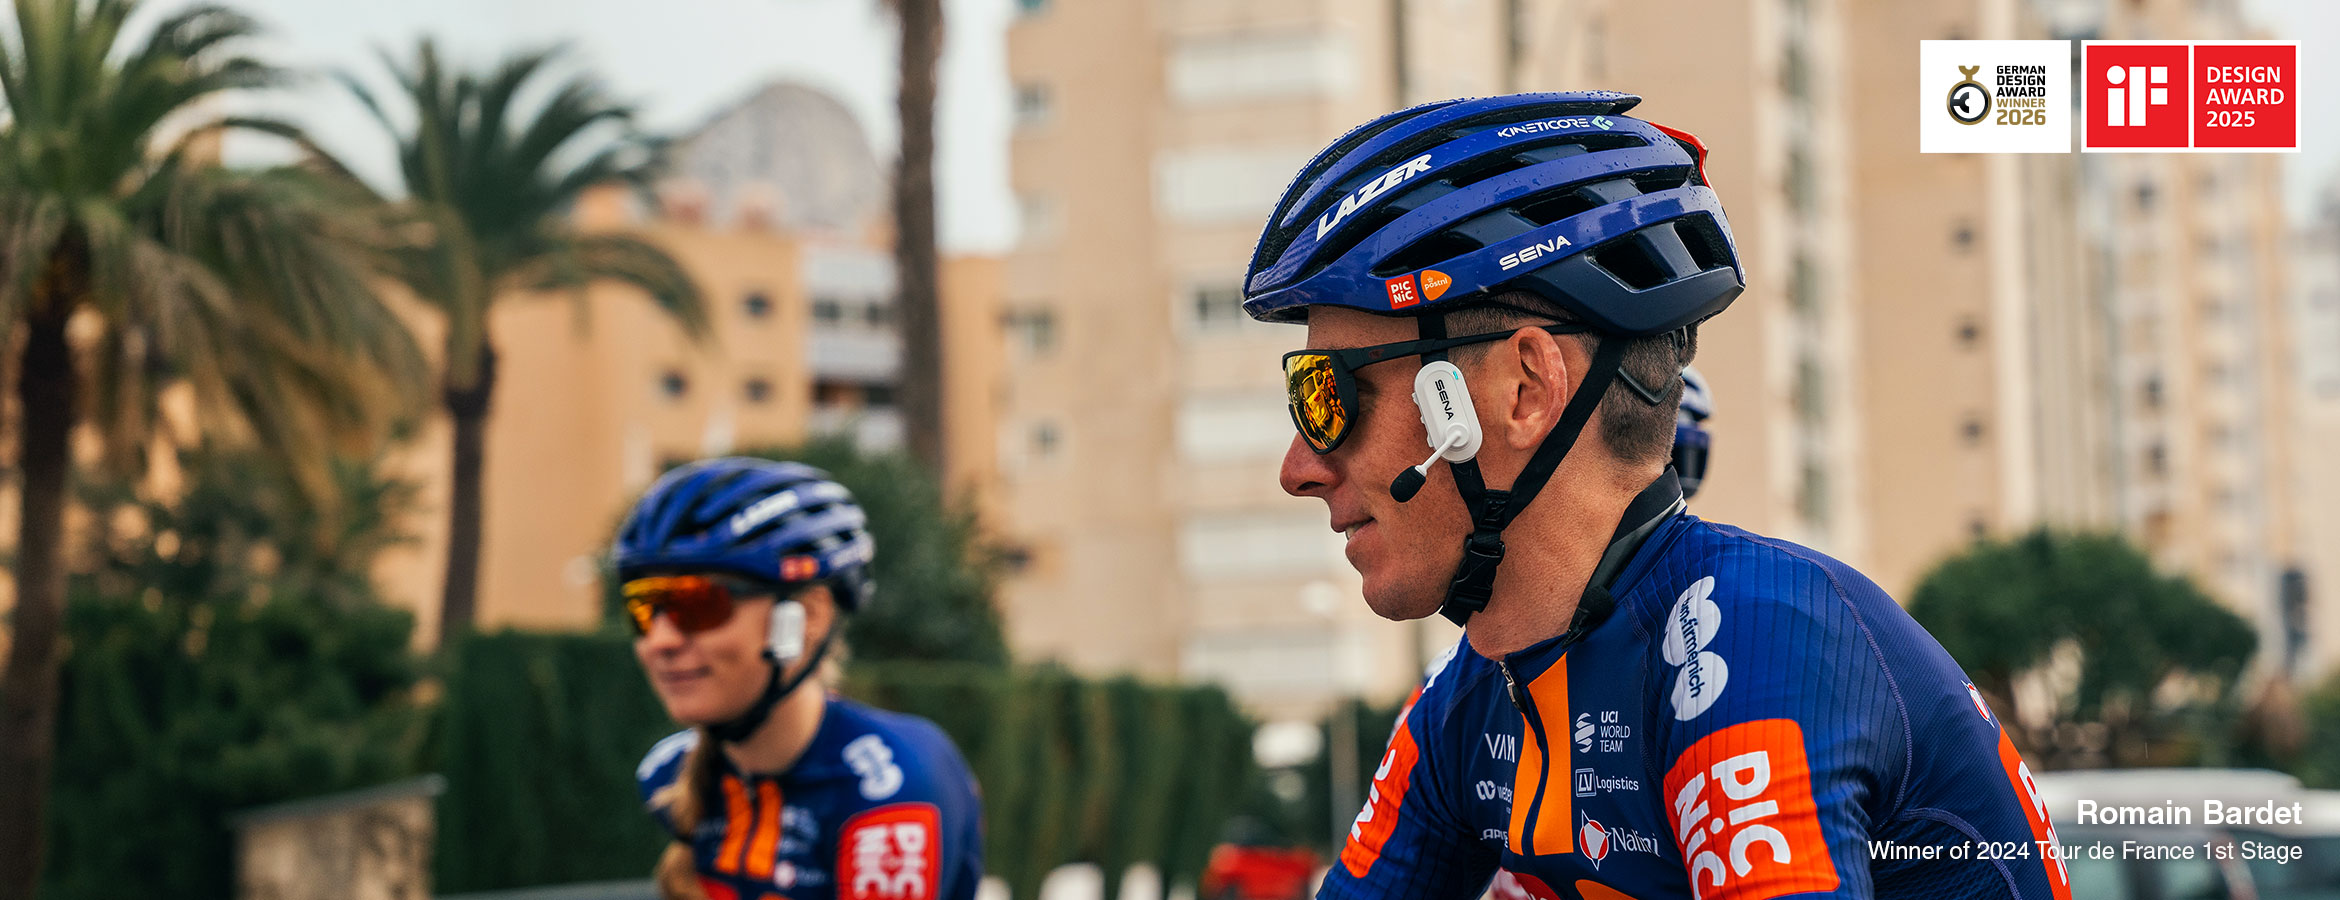
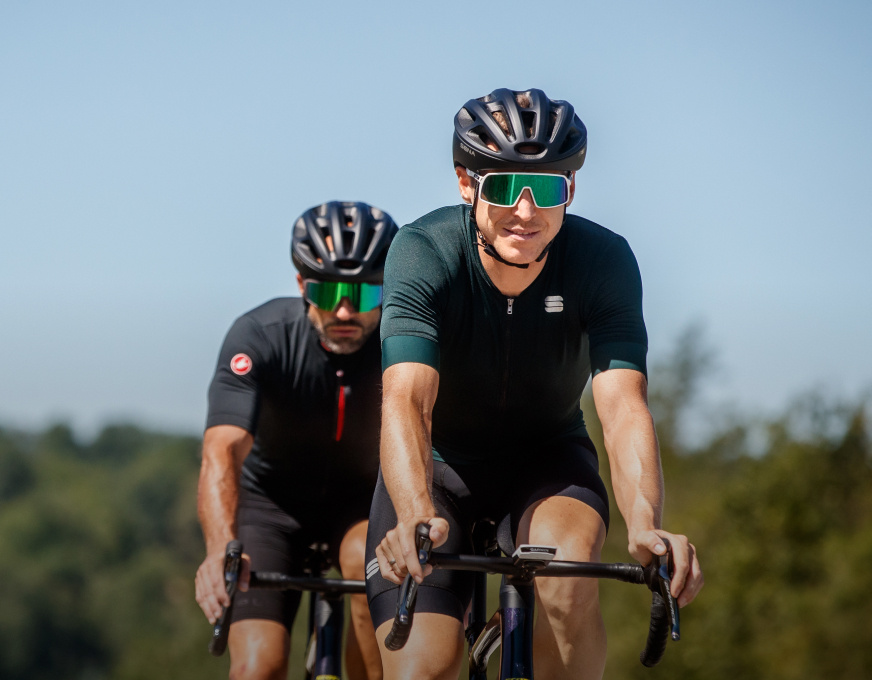 Cycling
Adapting our proven Bluetooth Intercom and Mesh Intercom technology to all aspects of cycling, for you to #RideConnected!
-
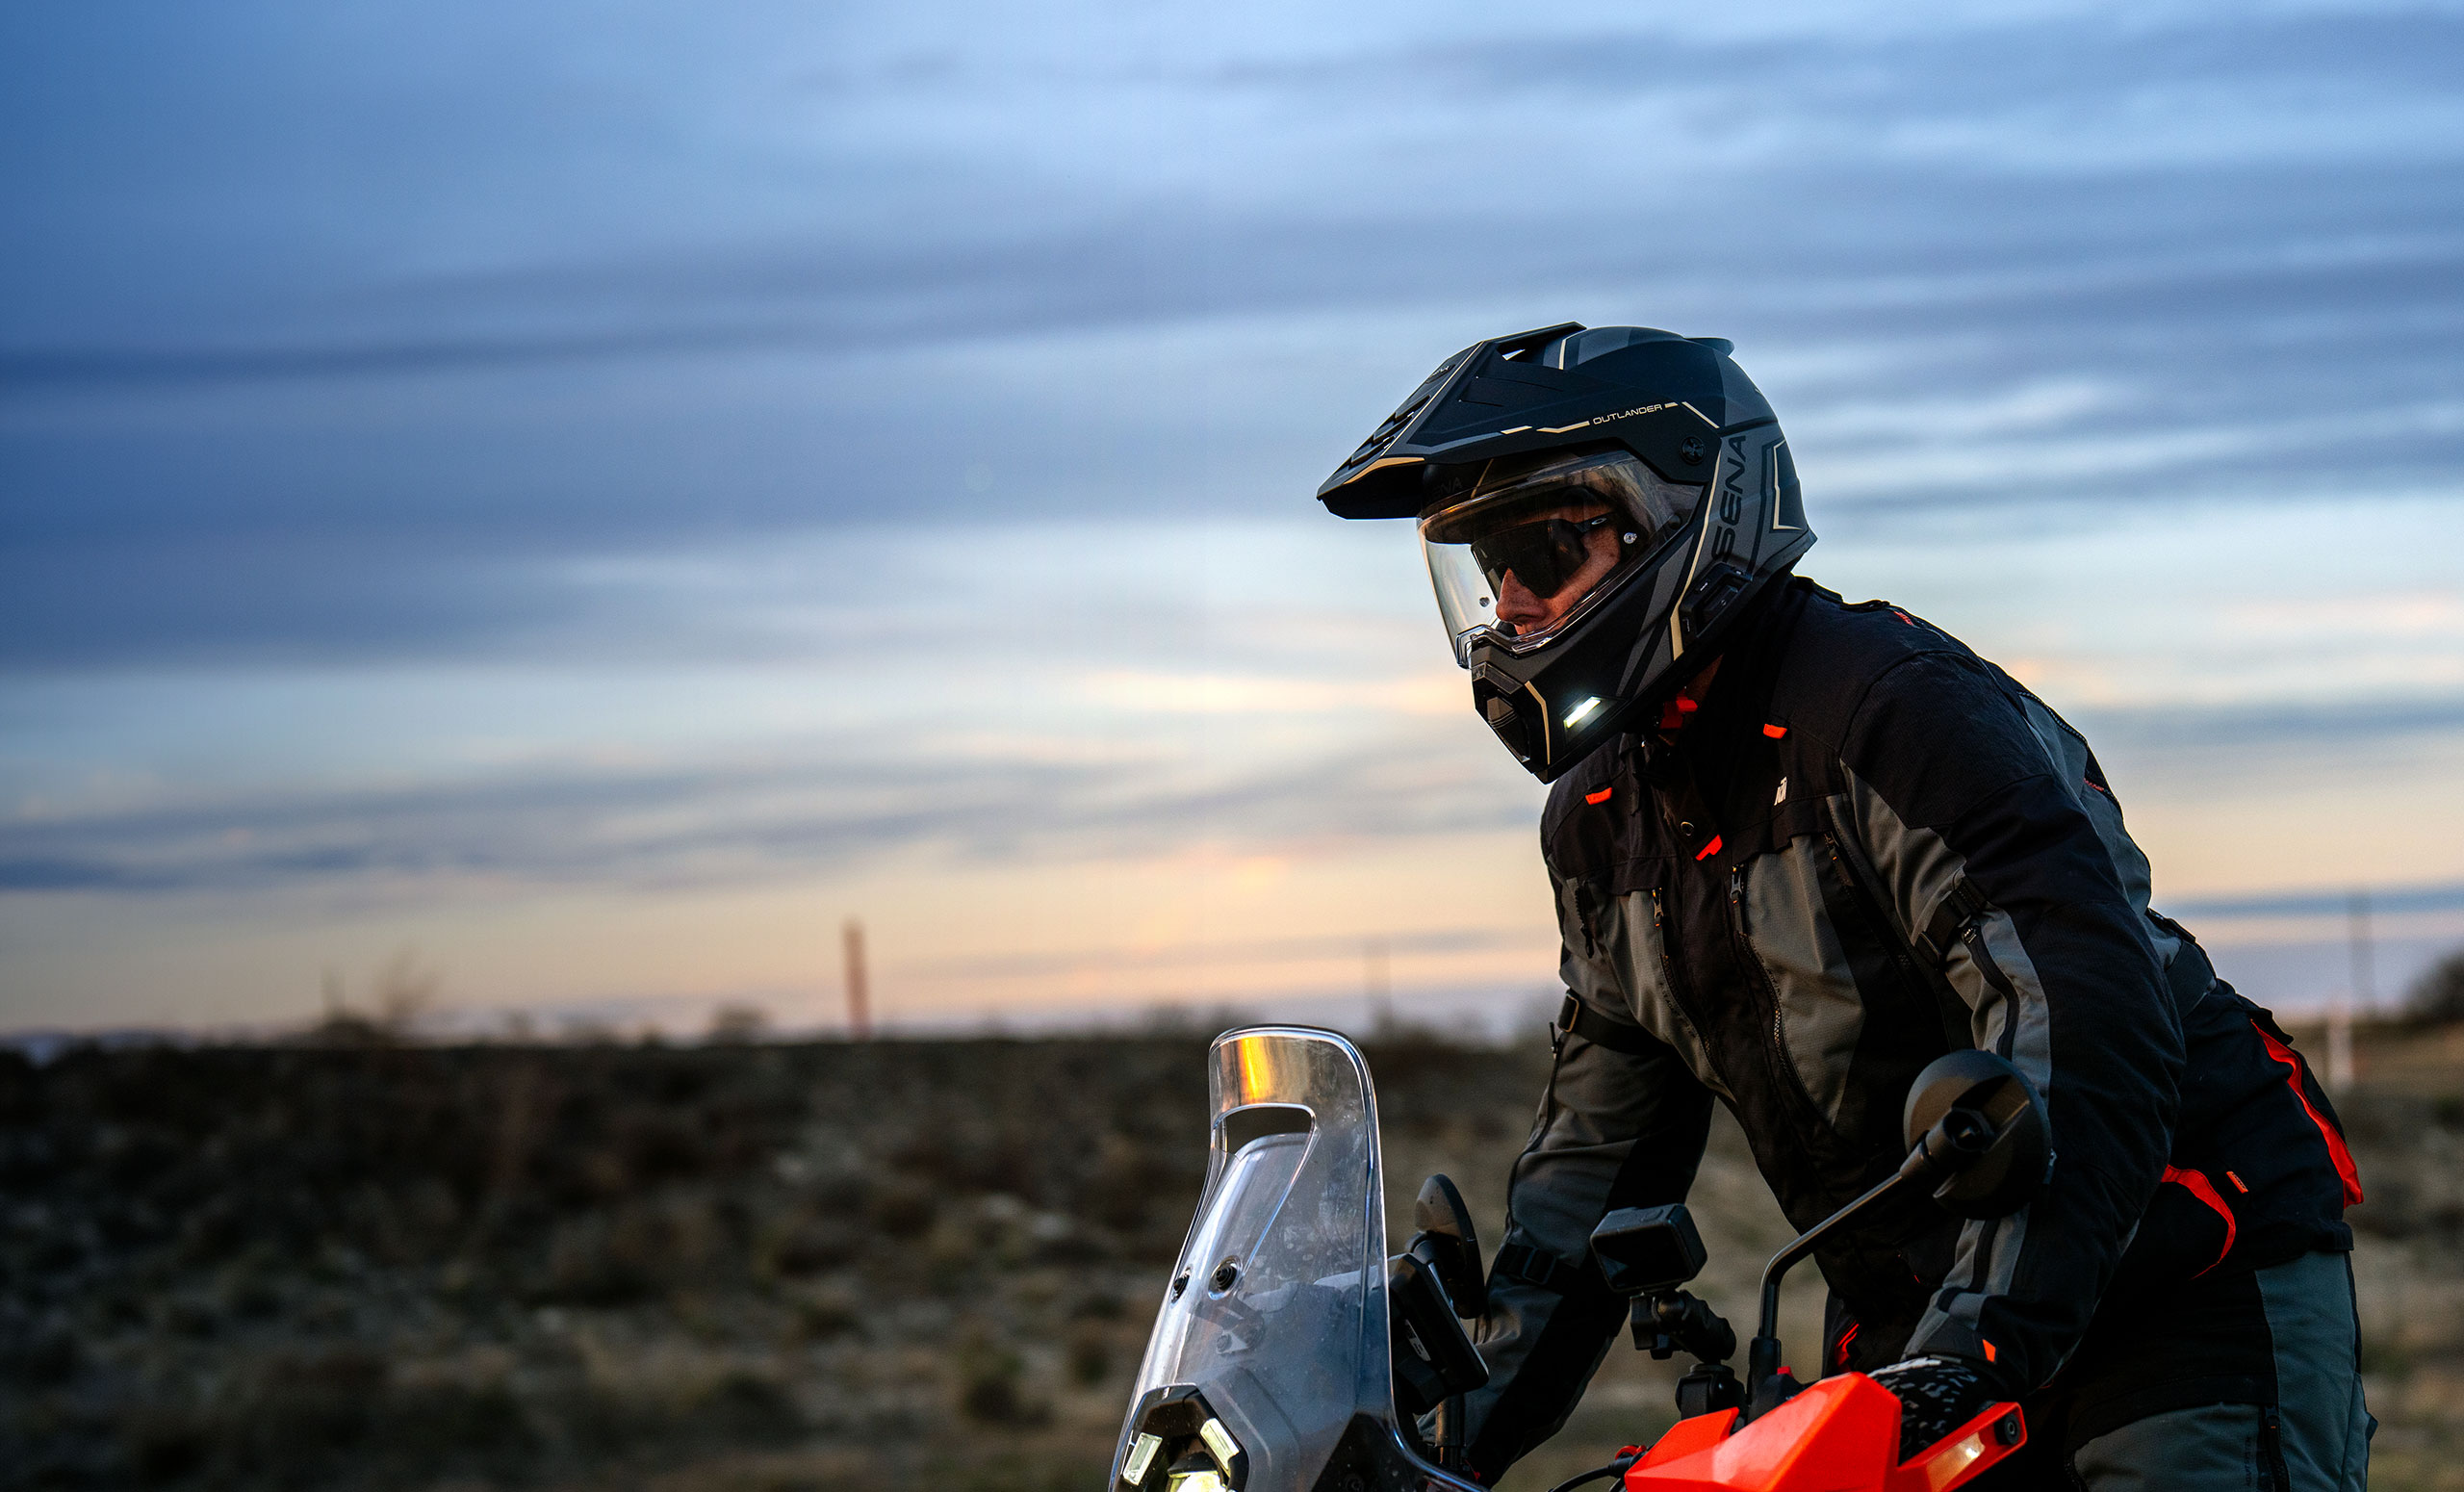
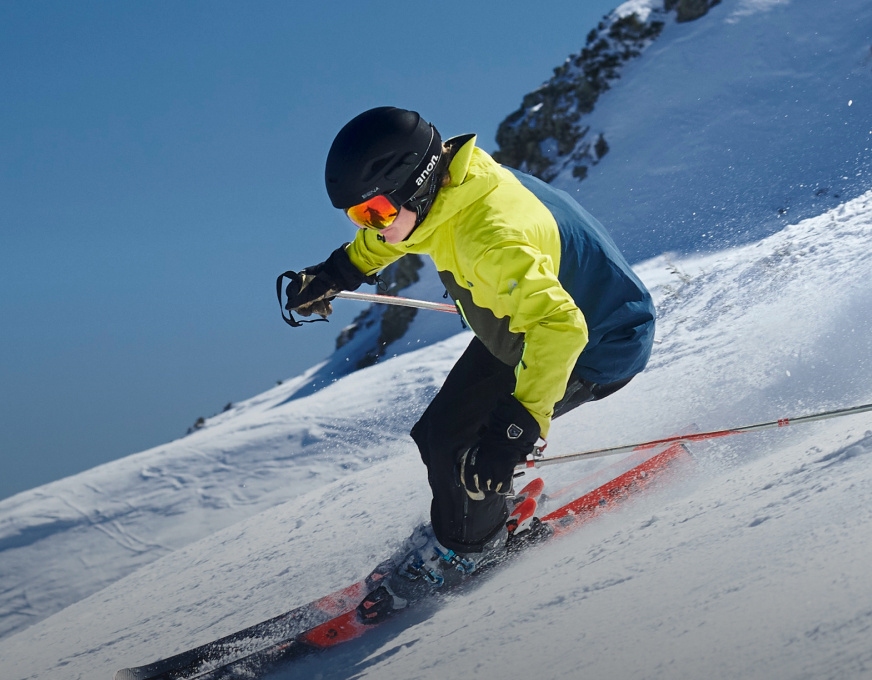 Outdoor
Keep in touch while hiking, climbing, skydiving, or doing whatever gets you outside. Sena enhances the lives of speed demons and action-seekers everywhere.
-
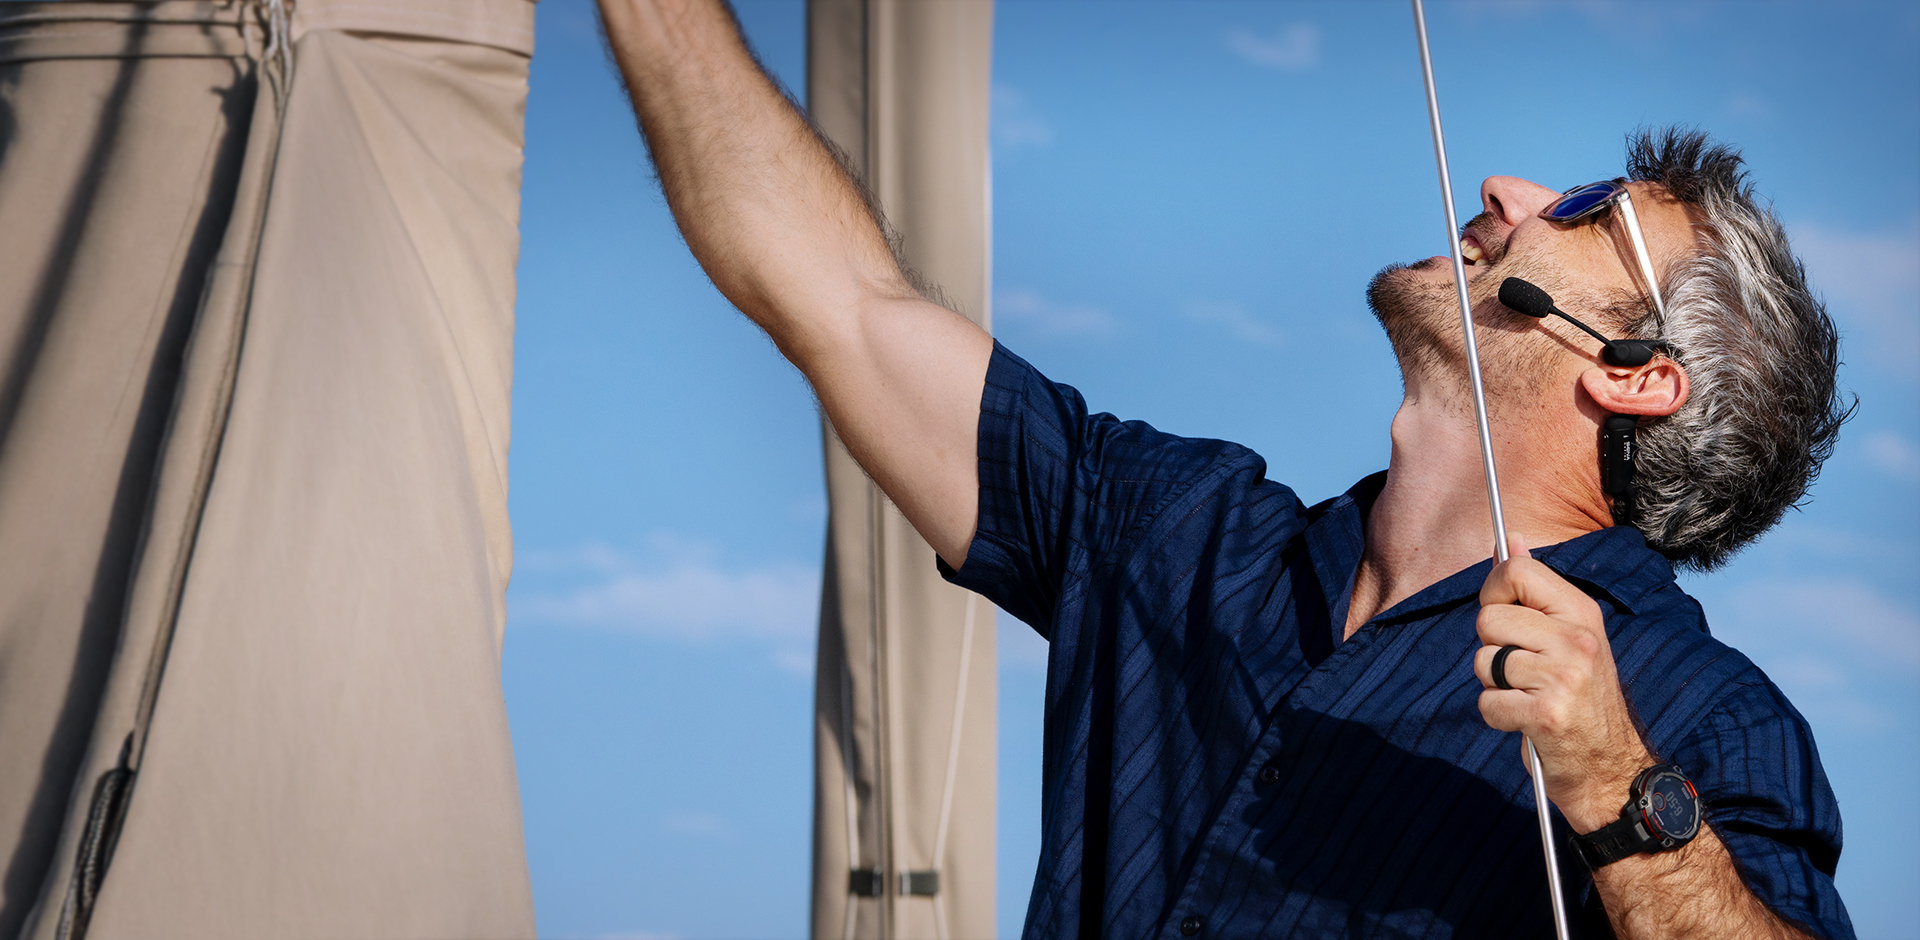
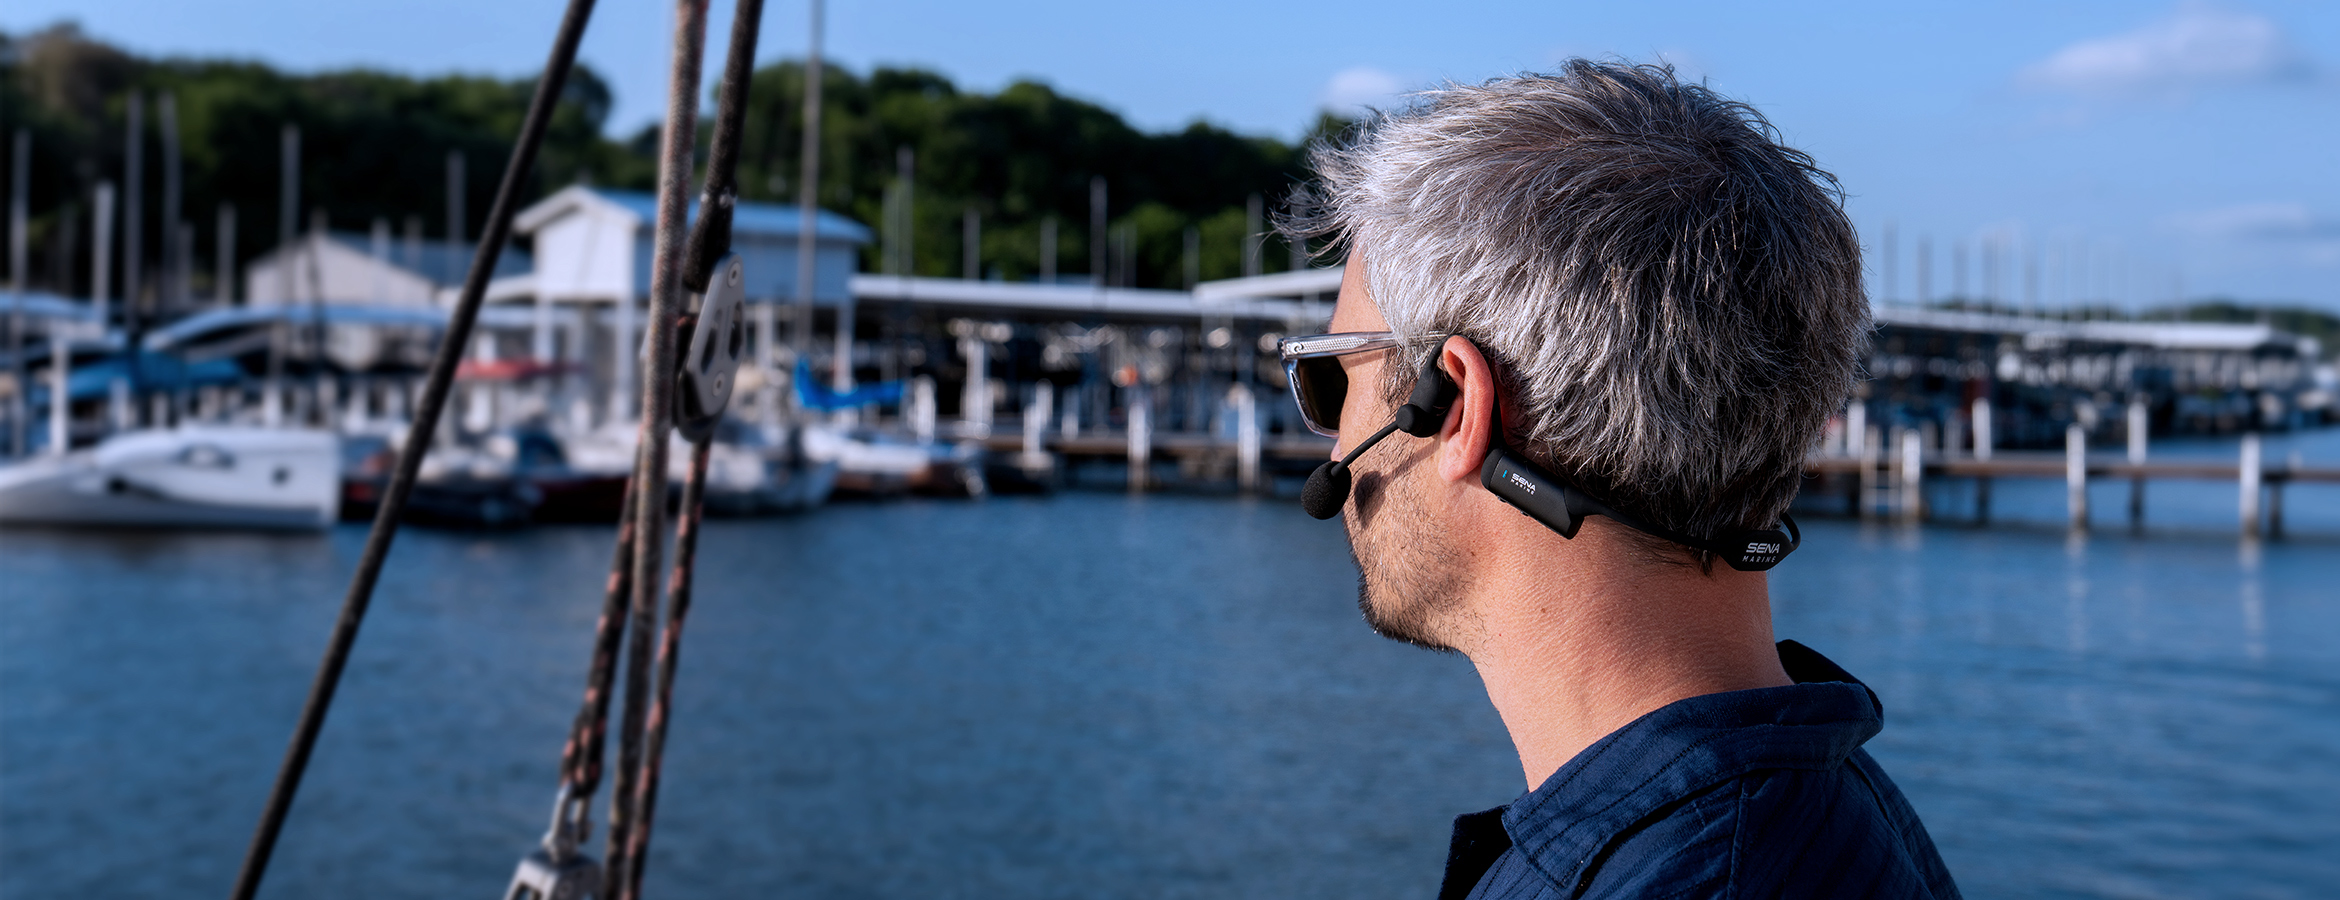
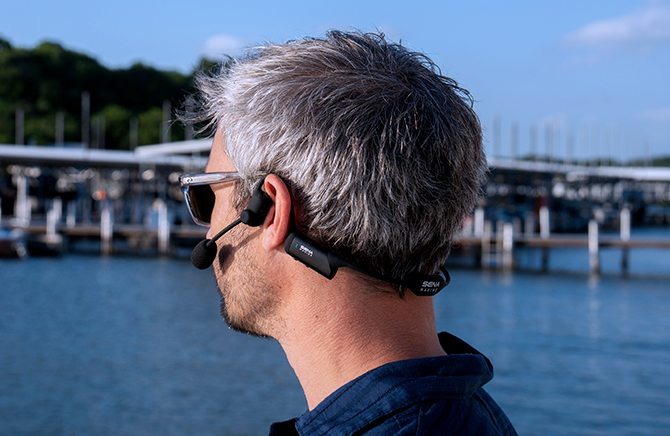
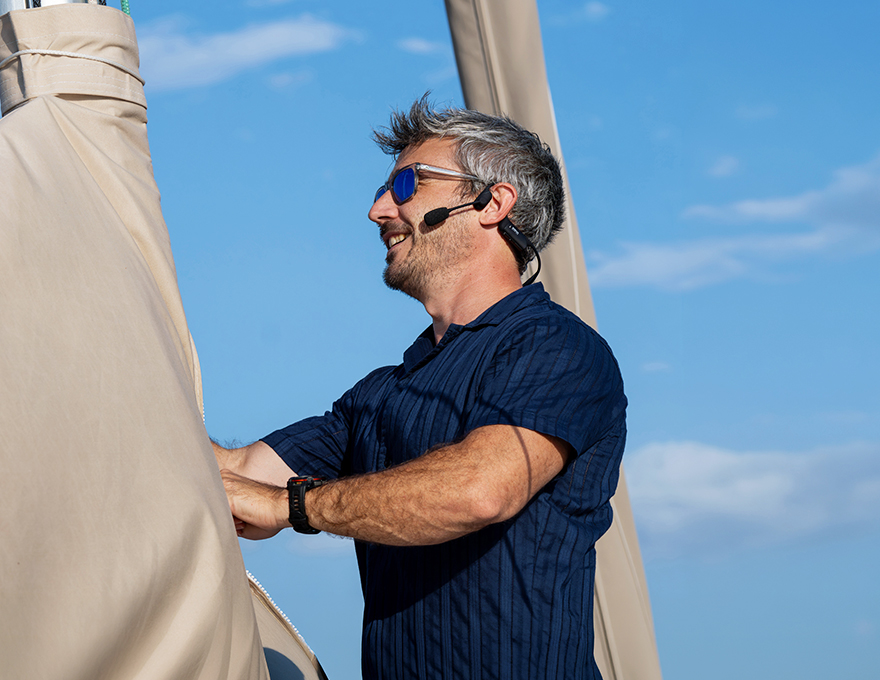 Marine
Sena keeps everyone on the same wavelength by making sailing safer and more communicative.
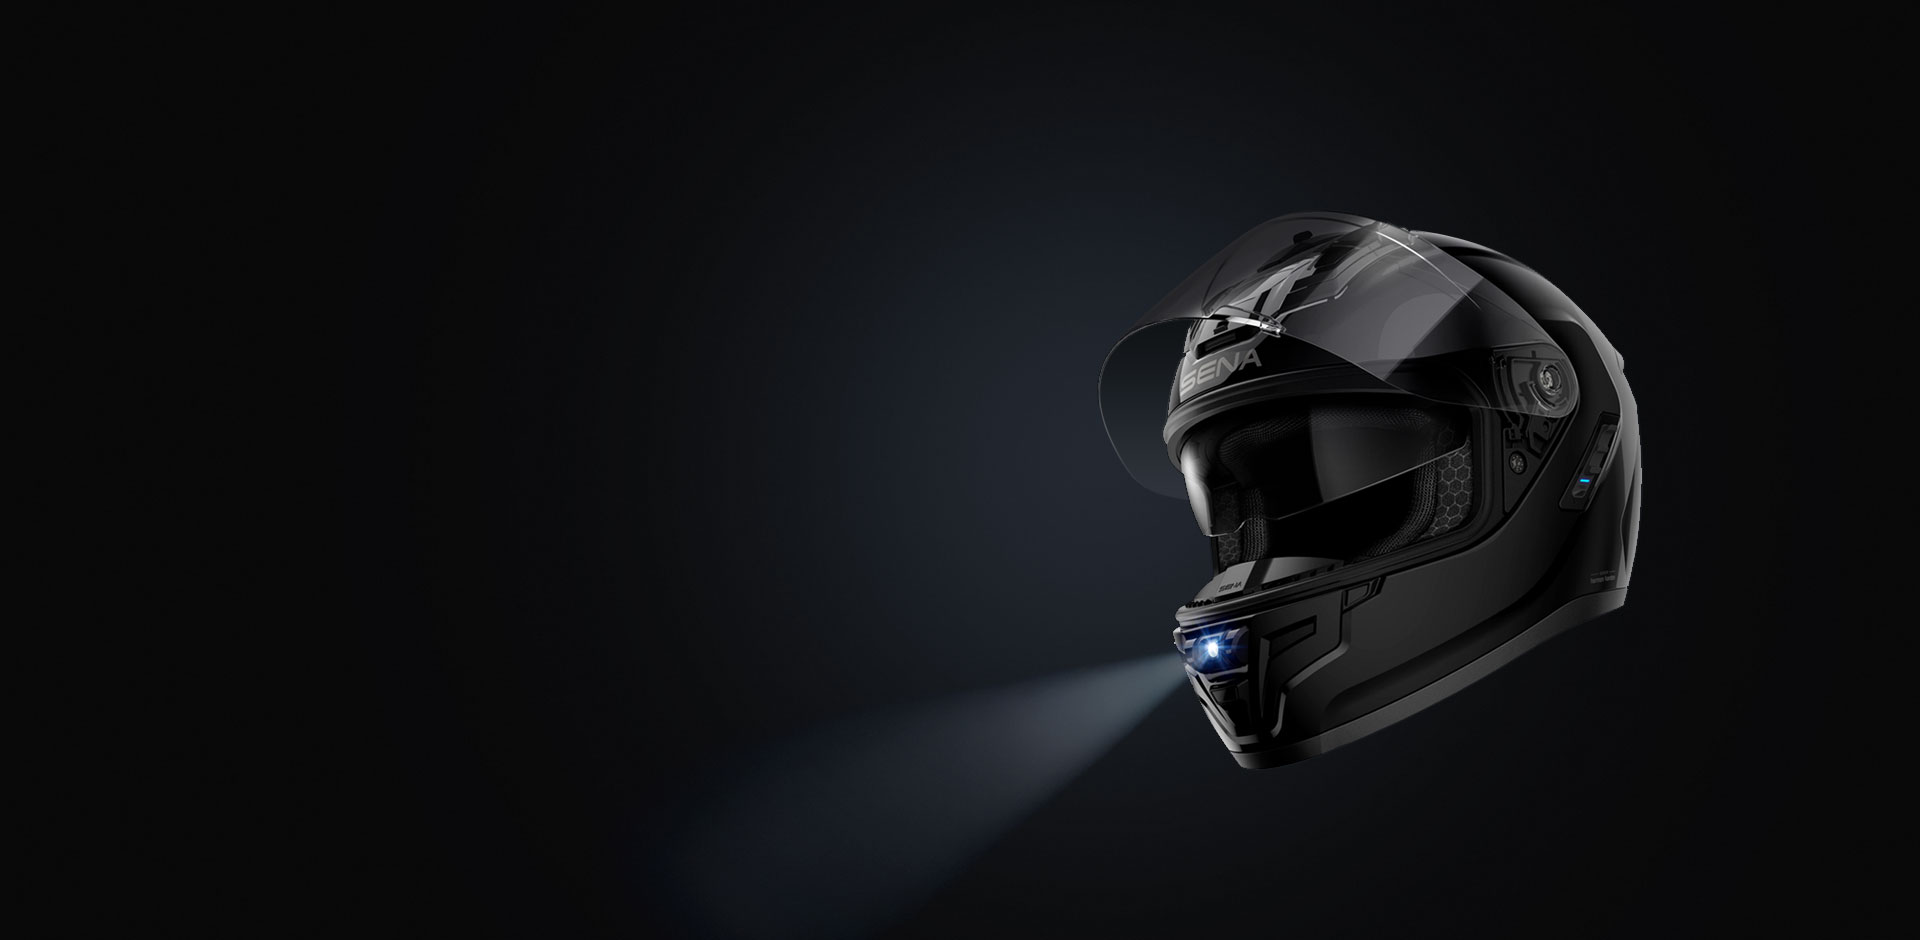
THE SENA DIFFERENCE
-
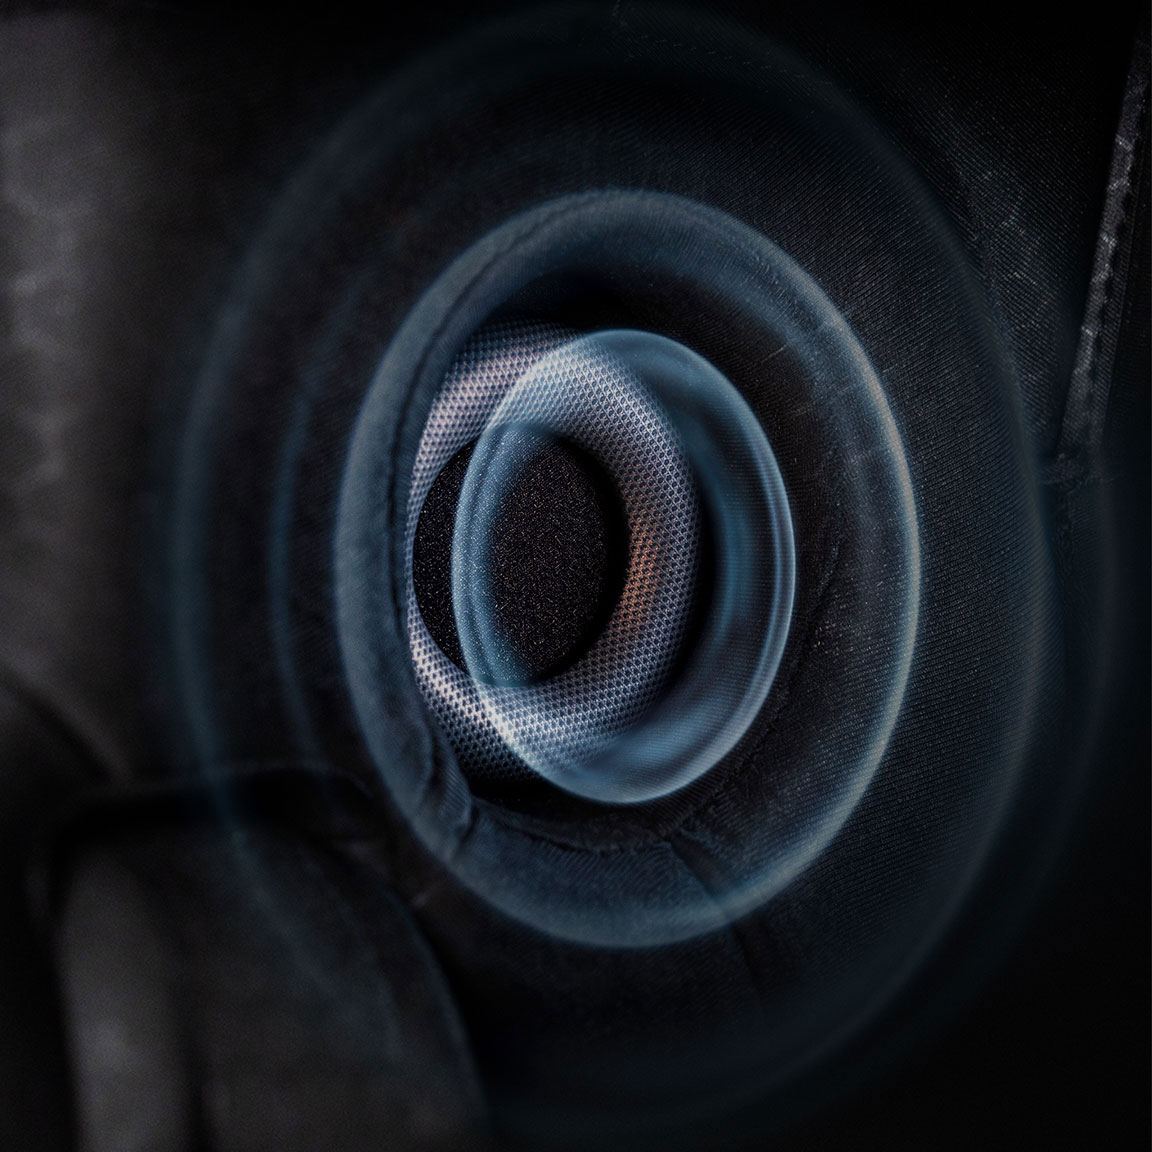
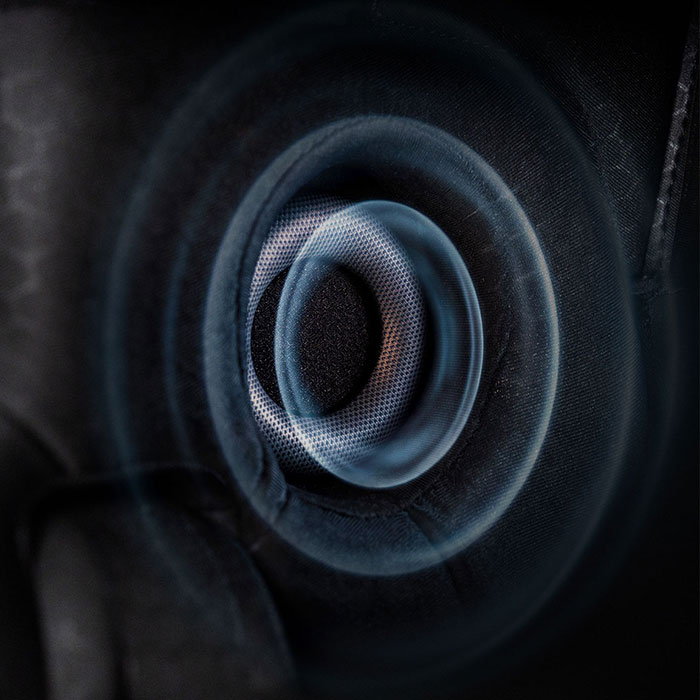 Premium Audio Experience
Built on our advanced technology, Sena delivers exceptional audio performance through collaborations with world-class audio brands like Bose and Harman Kardon.
-
 Total Communication Solution
From Mesh and Bluetooth Intercom to Wave connectivity, Sena provides a complete ecosystem to keep you connected in any environment.
-

 Safety Plus Innovation
Sena's innovations are seamlessly integrated into intuitive designs, presenting various convenient features to keep the riders focused on the road.

MEET OUR LATEST INNOVATIONS
-
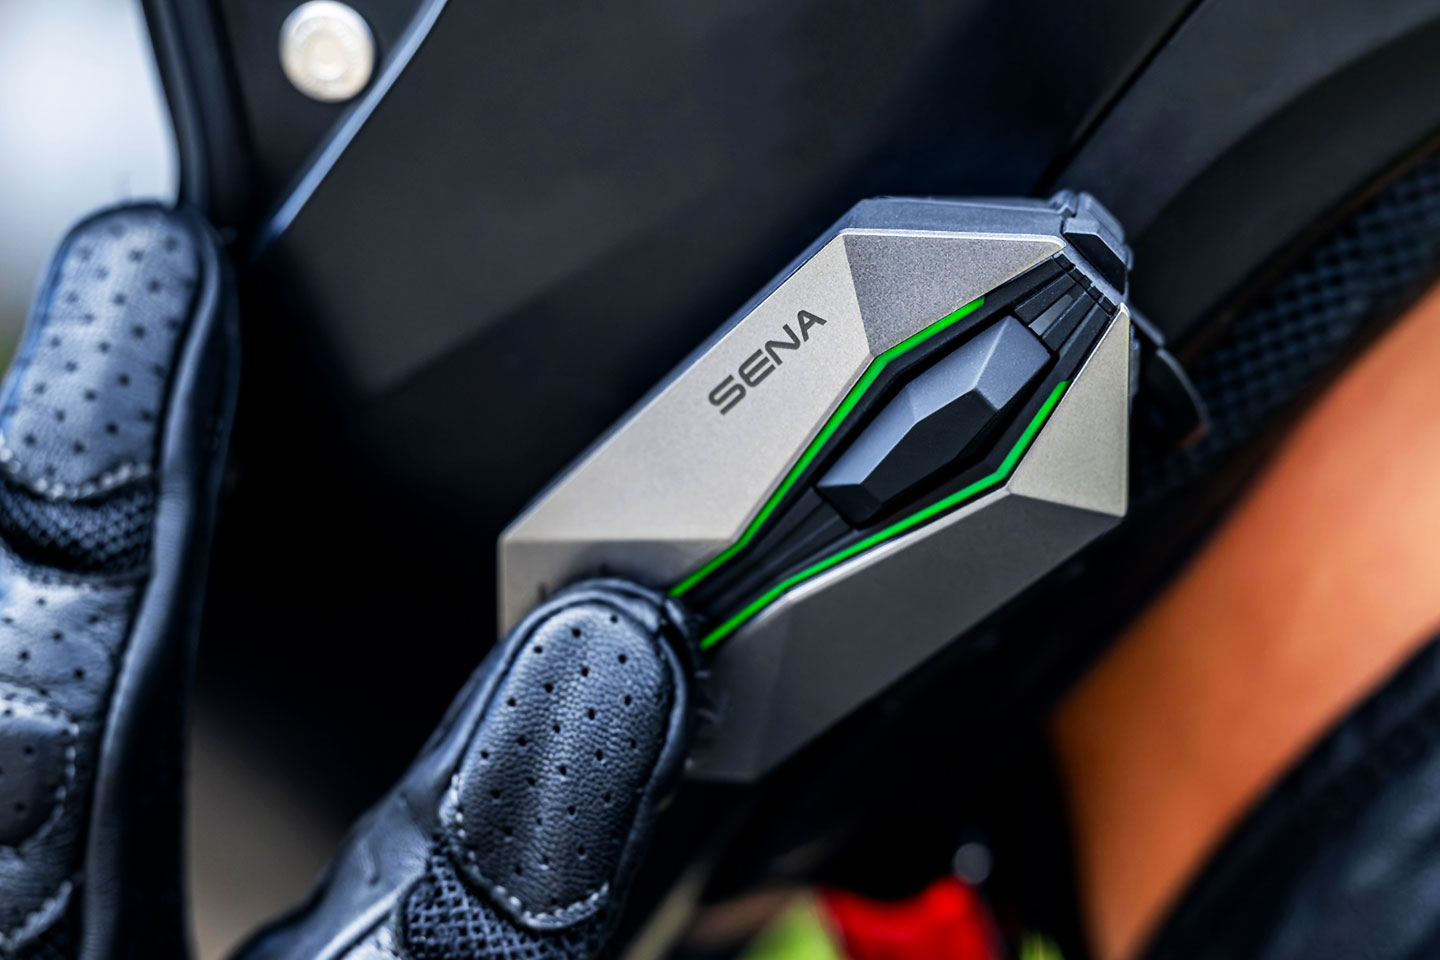
Motorcycling
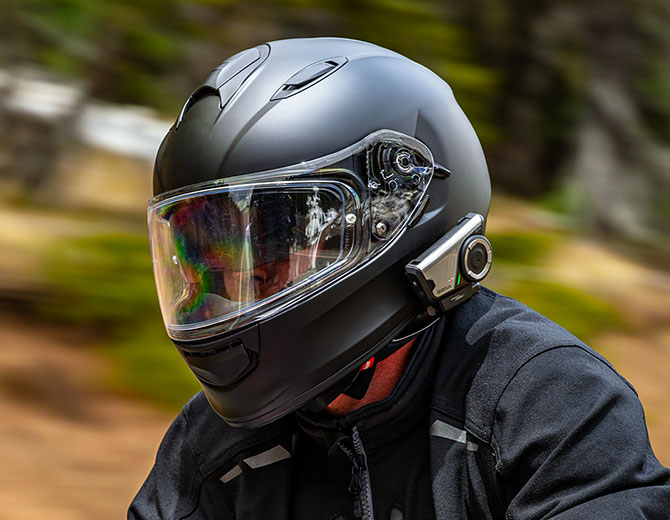
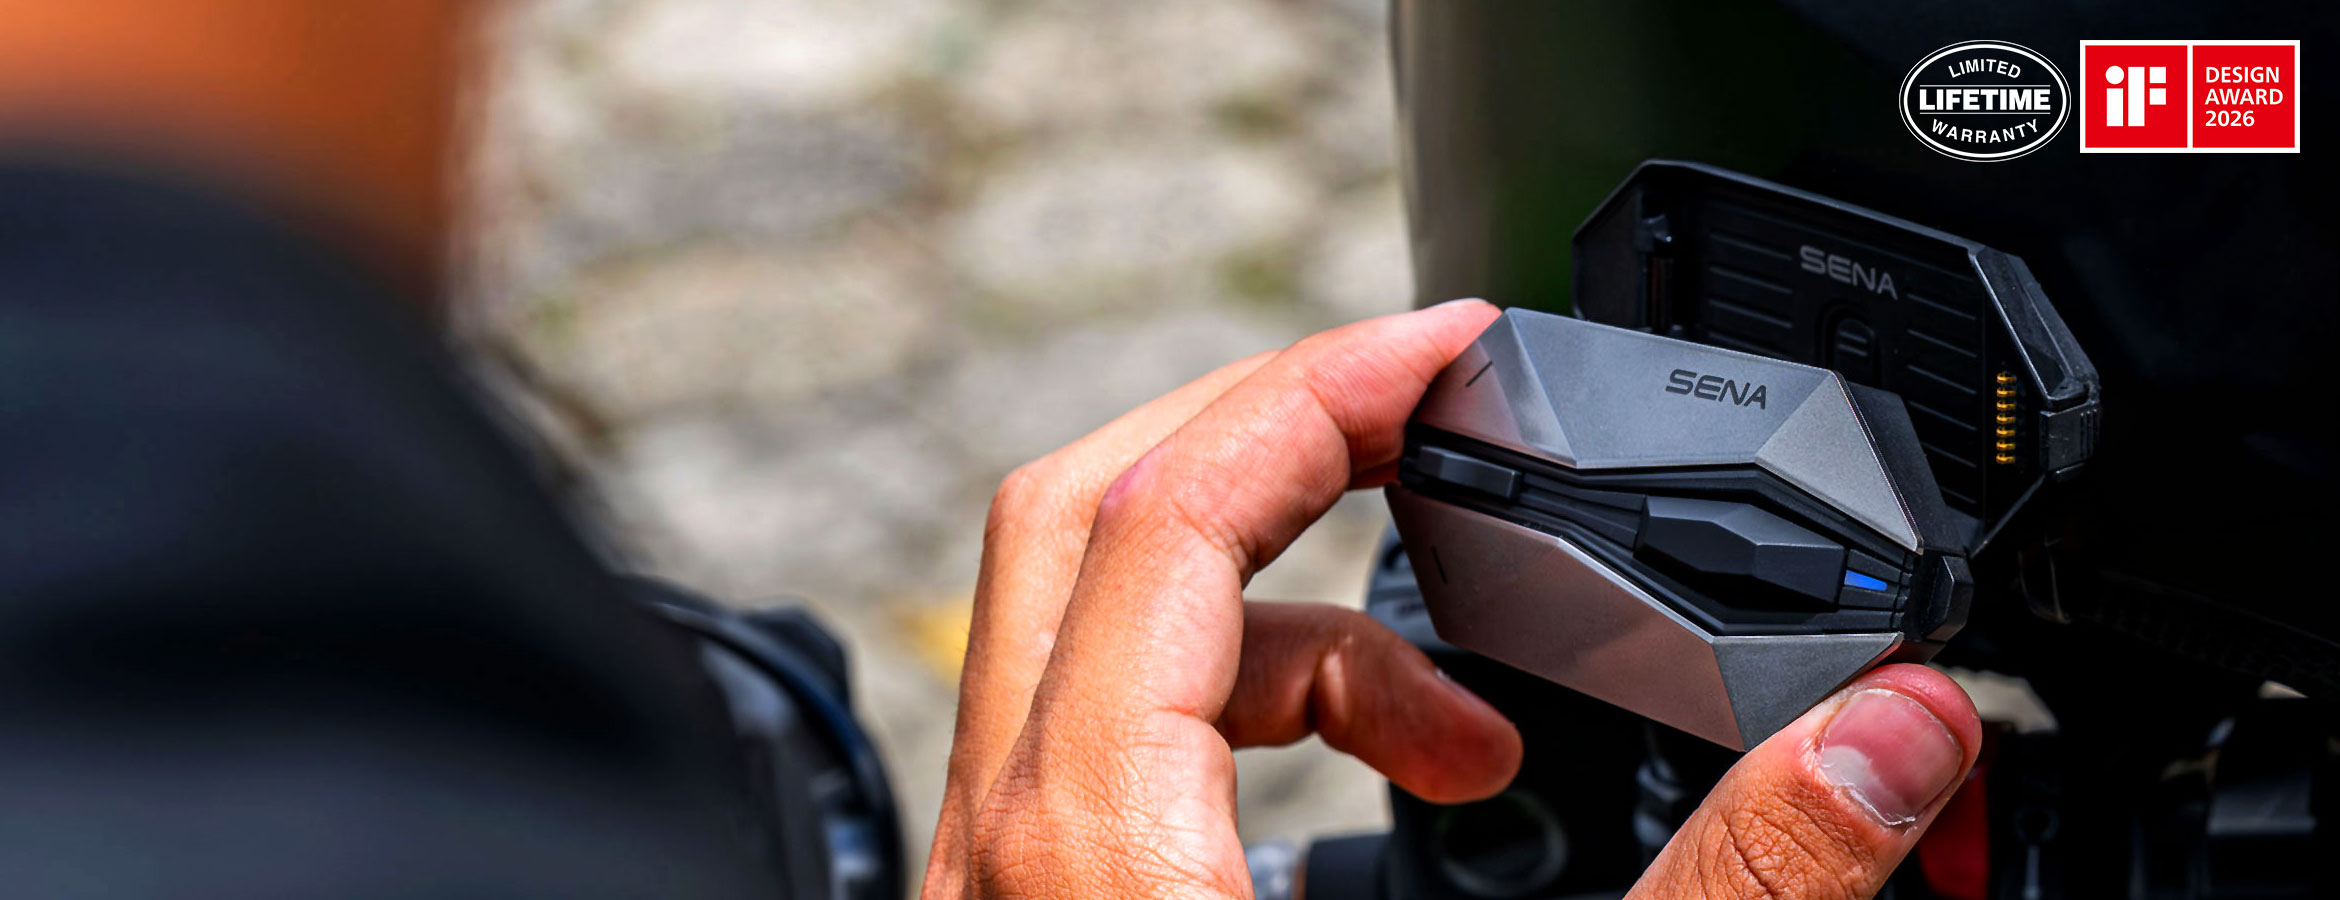
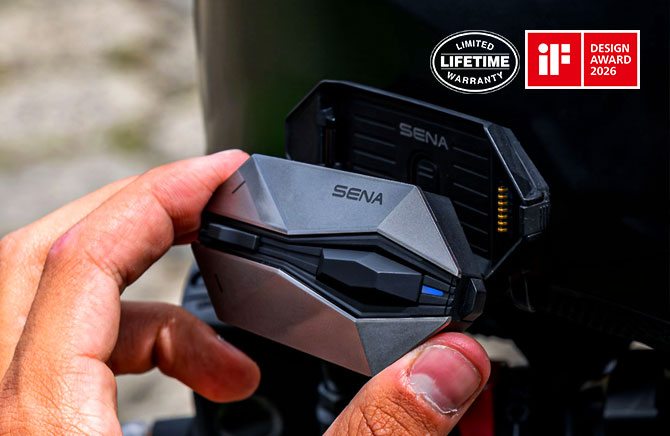
60XMotorcycling
As the newest addition to Sena's flagship 60 Series lineup, the 60X redefines what riders can expect from a premium communication system.
-

Cycling
BiKom 20Cycling
The Bikom 20 redefines cycling communication as the world’s most compact and lightweight communicator, designed specifically to meet the rigorous demands of performance cyclists.
-
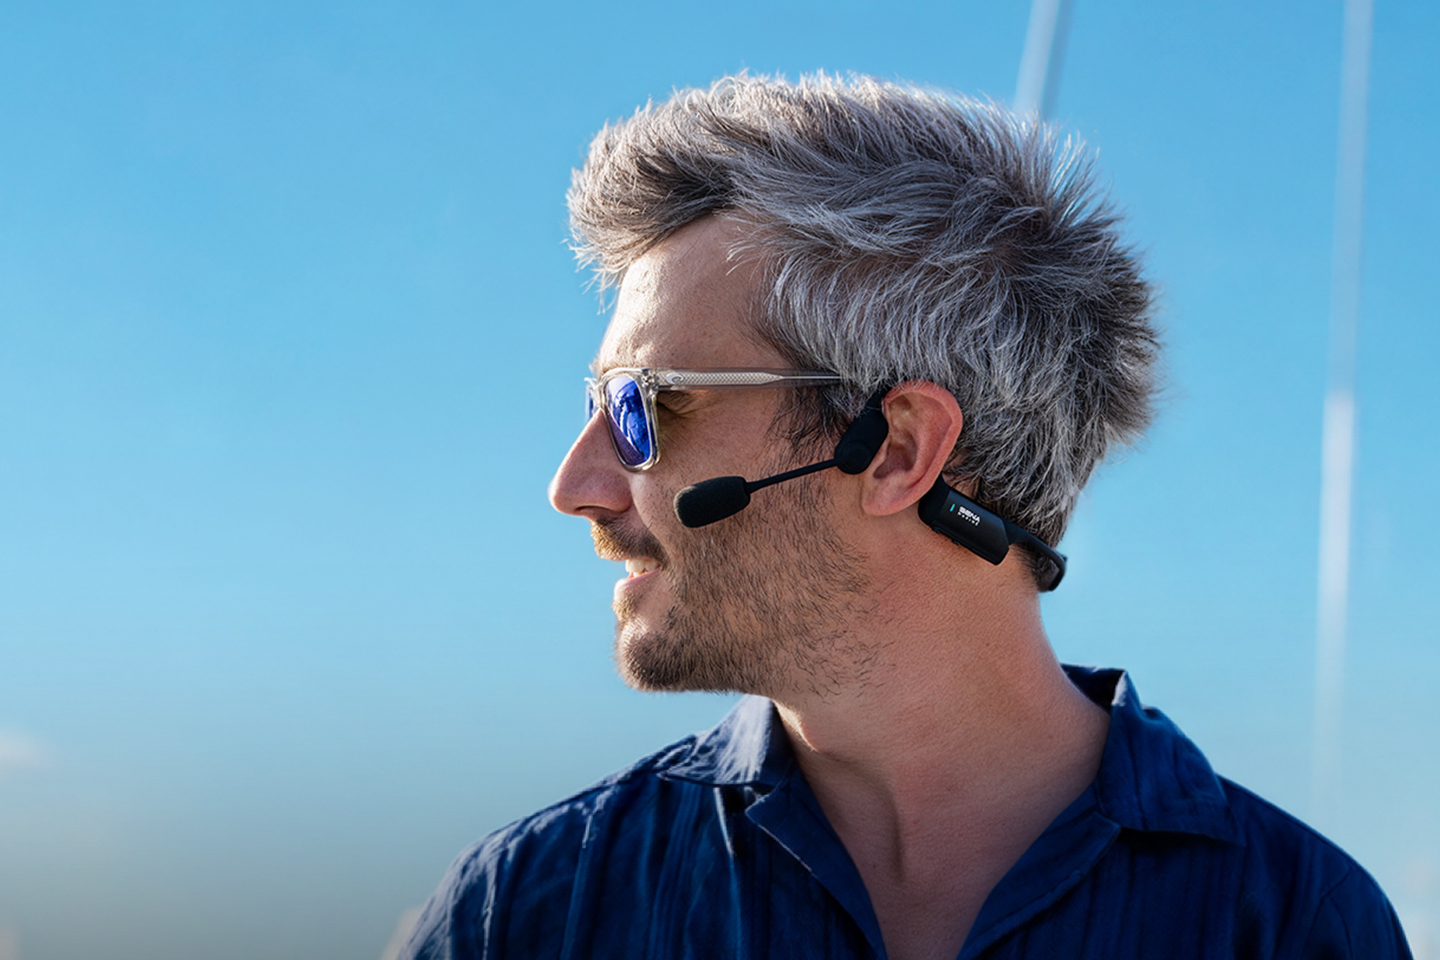
Marine
NAUTITALK OPENMarine
Designed for optimal situational awareness, NAUTITALK OPEN ensures effortless crew communication with hands-free operation.
-


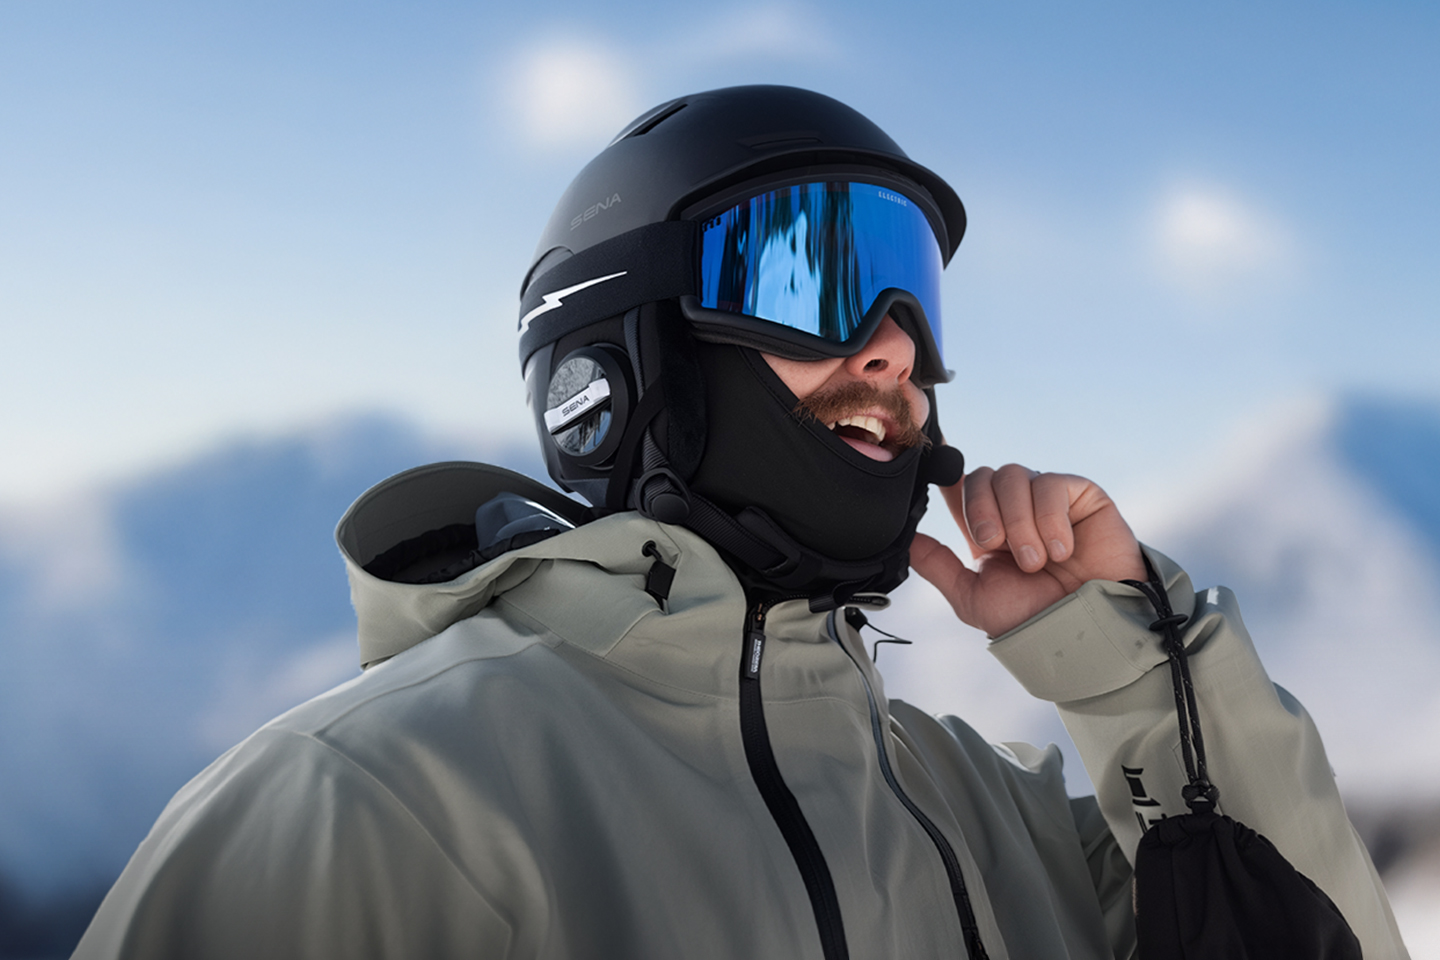
Outdoor
LATITUDE S2Outdoor
Designed for freestyle skiers, snowboarders, and recreational riders, it revolutionizes snow helmet communication by integrating Mesh Intercom into a lightweight and rugged snow sports helmet.
-
 People with Sena
-
 Collaborations
-
the Sena Connect app

GET CONNECTED!
GET CONNECTED!
DISCOVER APPS
BY SENAConnect the apps to your devices and experience
Sena’s innovative communication solutions.